okdoky
Local Delivery Truck Driver
 Keep your knives sharp and your glue lids on
Posts: 365
|
Post by okdoky on Feb 2, 2009 17:15:22 GMT -5
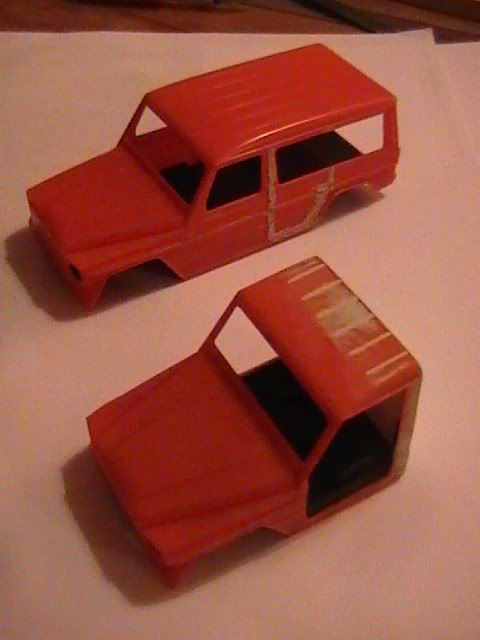
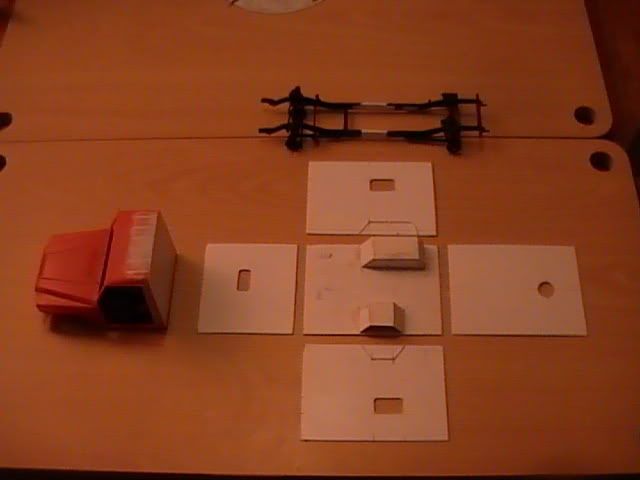
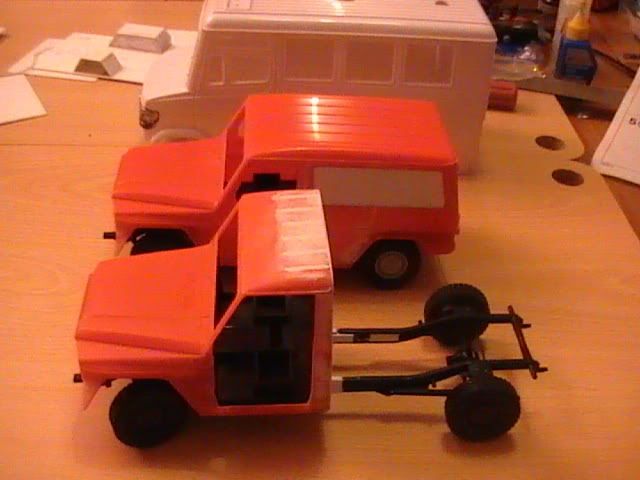
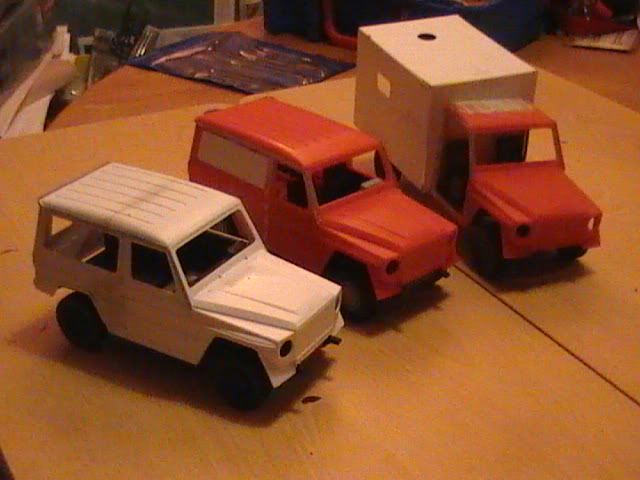
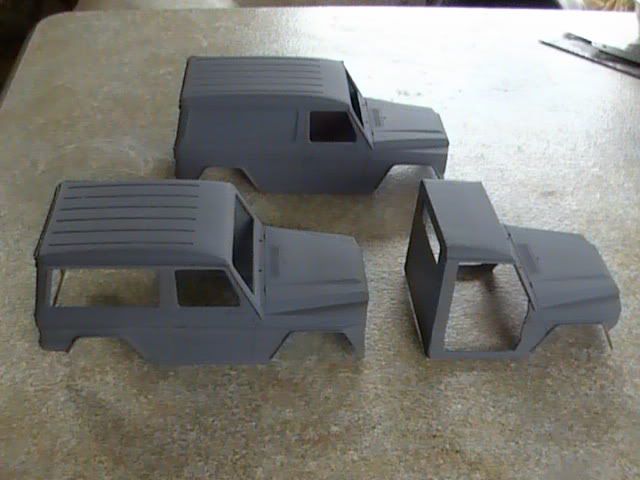
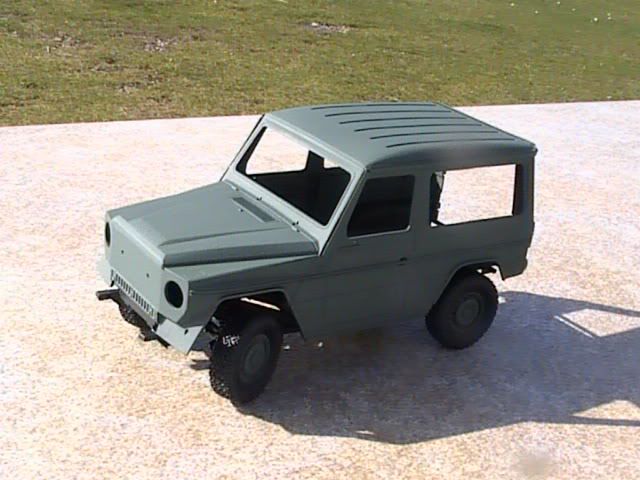
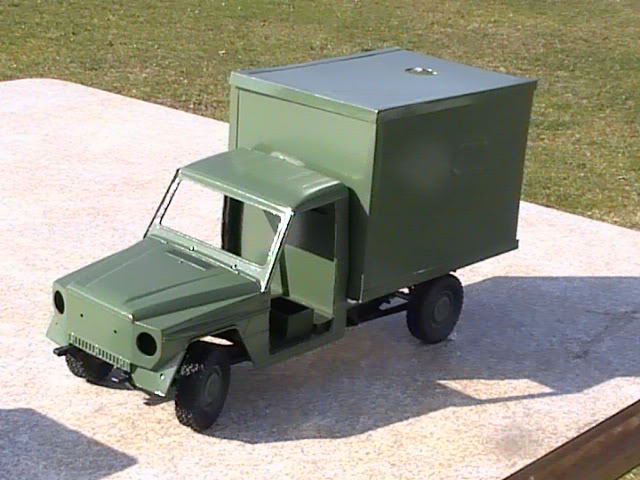
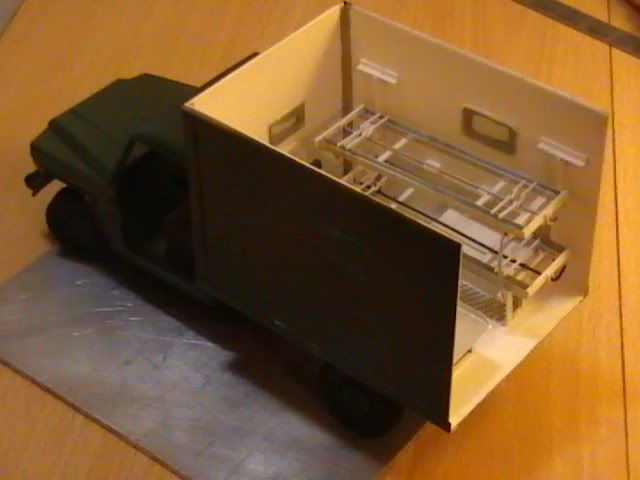
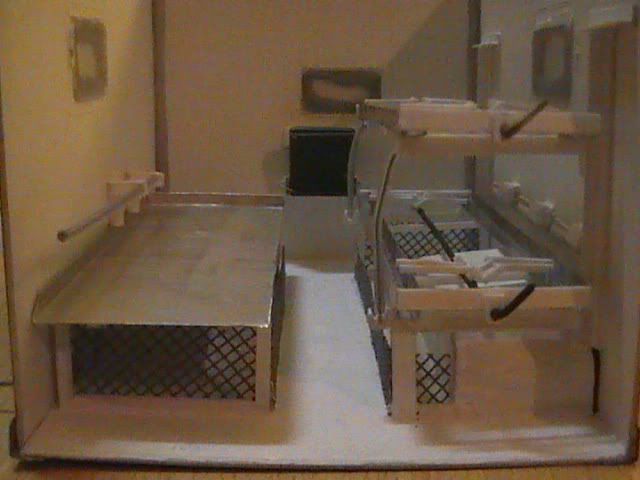
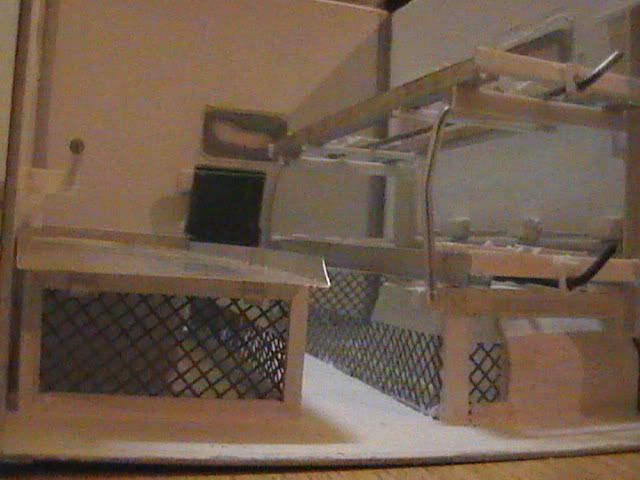
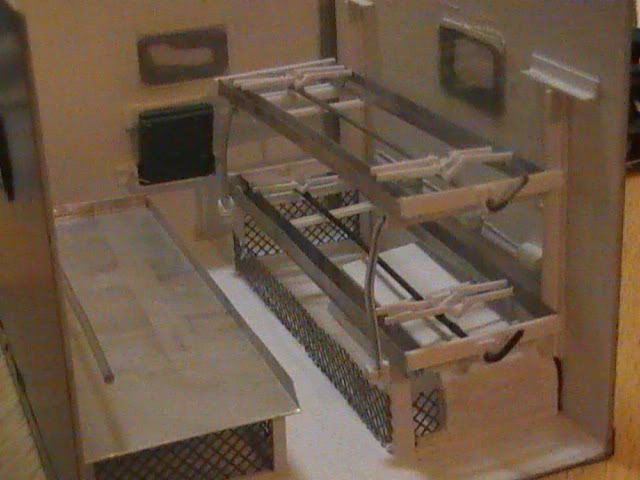
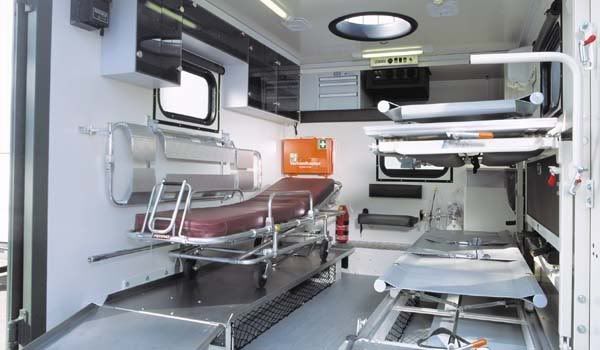
Hi folks I have two models I want to do to go with my VW builds. Both are going to use Revell kits as the basis for conversion. 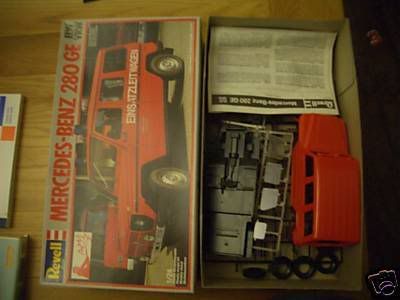 The first into a van type medics vehicle 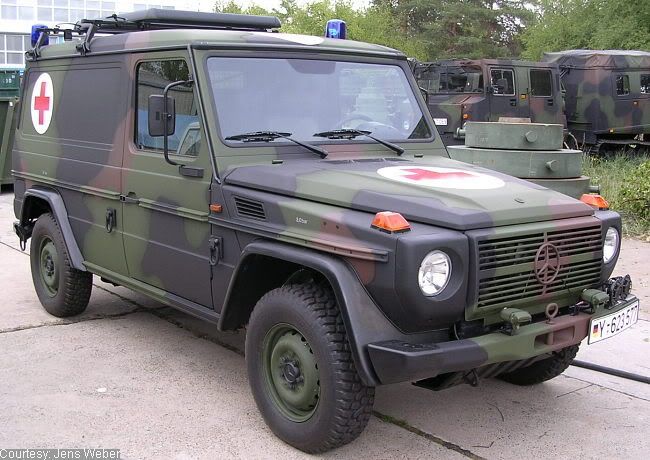 The other into a box bodied ambulance  I need to find some photos showing the roof of the box bodied version and I would like to find out if either or both of these types were used by Luftwaffe units. Nige |
|
|
|
Post by astro1973 on Apr 6, 2009 8:48:46 GMT -5
It's going to be cool when it's done. Can't wait to see it!
|
|
okdoky
Local Delivery Truck Driver
Keep your knives sharp and your glue lids on
Posts: 365
|
Post by okdoky on Apr 16, 2009 10:48:32 GMT -5
|
|
bonze
Local Delivery Truck Driver
Posts: 243
|
Post by bonze on Apr 17, 2009 20:13:31 GMT -5
Nige, they are looking good, excellent work on the scratch building!!!!!
|
|
okdoky
Local Delivery Truck Driver
Keep your knives sharp and your glue lids on
Posts: 365
|
Post by okdoky on Apr 18, 2009 23:06:20 GMT -5
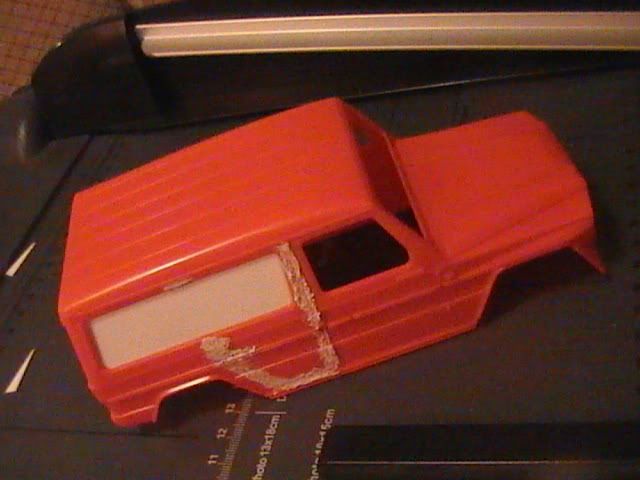
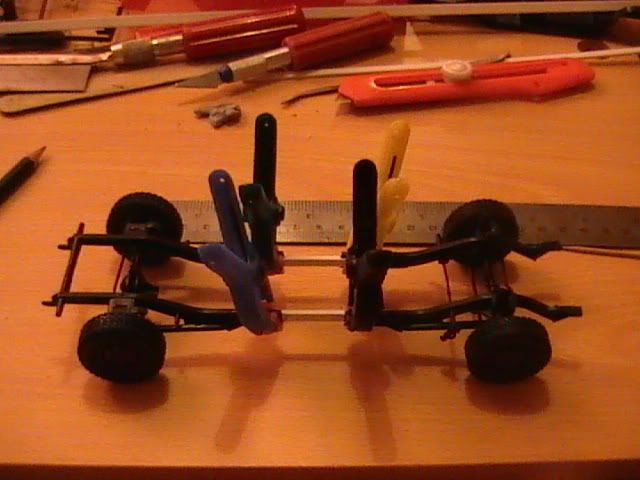
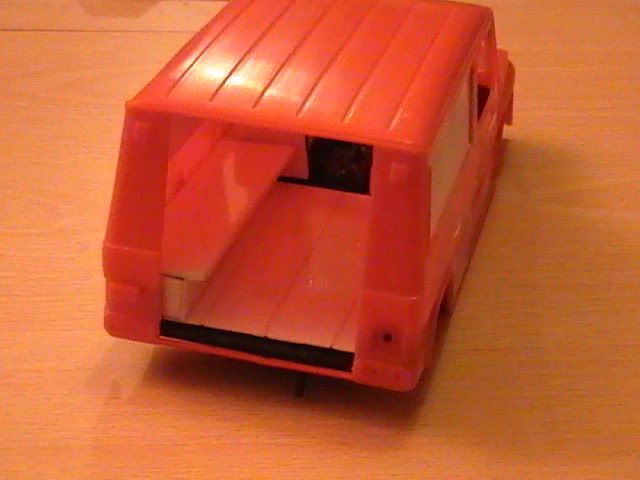
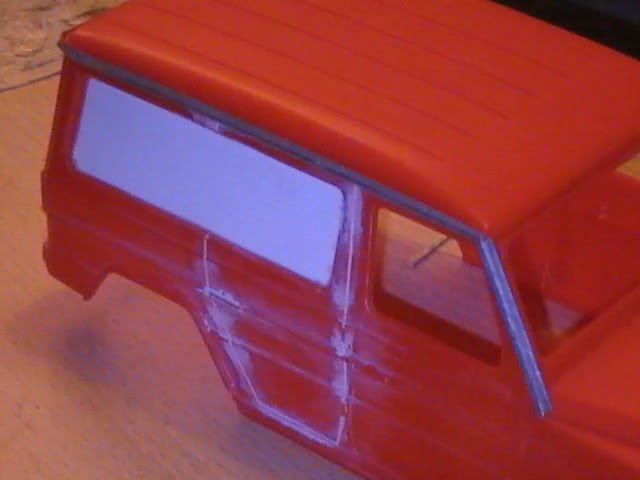
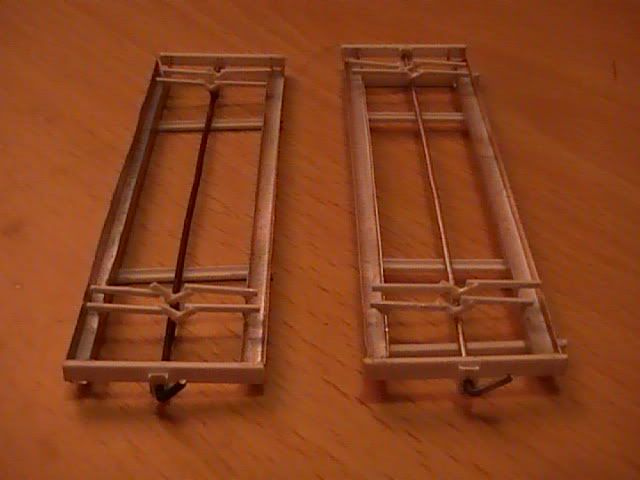
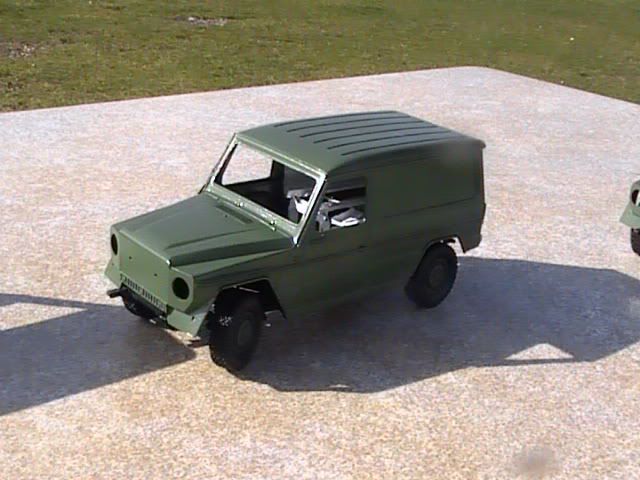
Hi Marco Still thinking about the boxes but I did a wee bit of work on the doors and bumpers this weekend instead. Van body  Short wheelbase 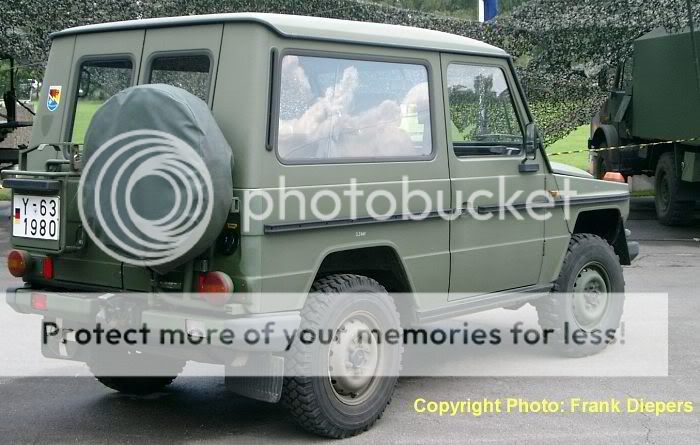 Chopped the rear bumpers up to accept the nato standard towing pintle supports and drilled openings for rear fog and reversing lights. Also drilled out the front bumper to form a towing hitch and recess. Original parts and alterred together 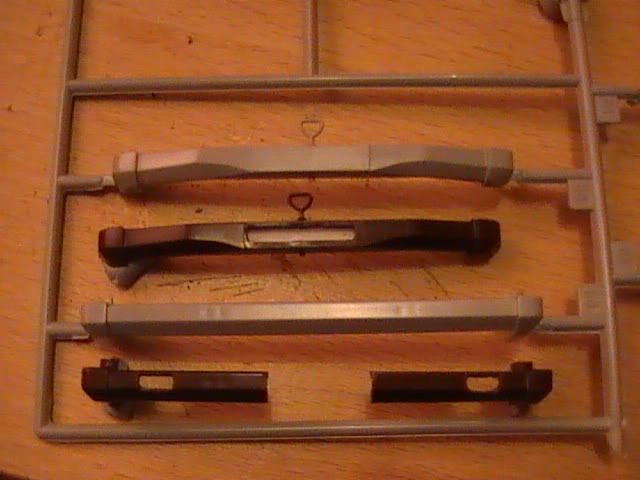 Front bumpers 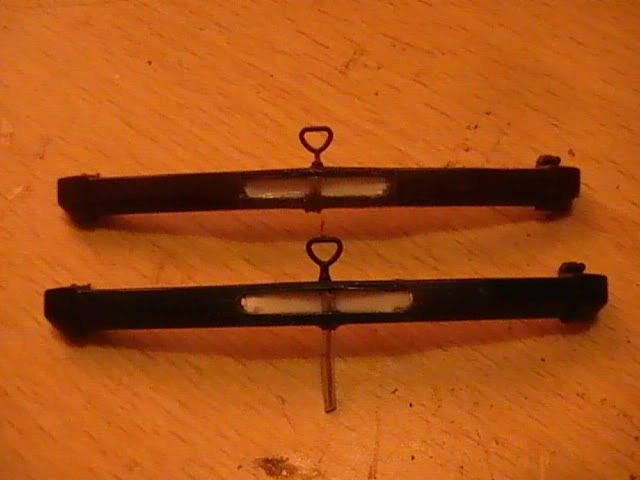 Van body has slightly different rear bumpers compared to the short as there are tie down/lifting rings that have to be added to the chassis in between the rear wheels but in front of the bumpers. 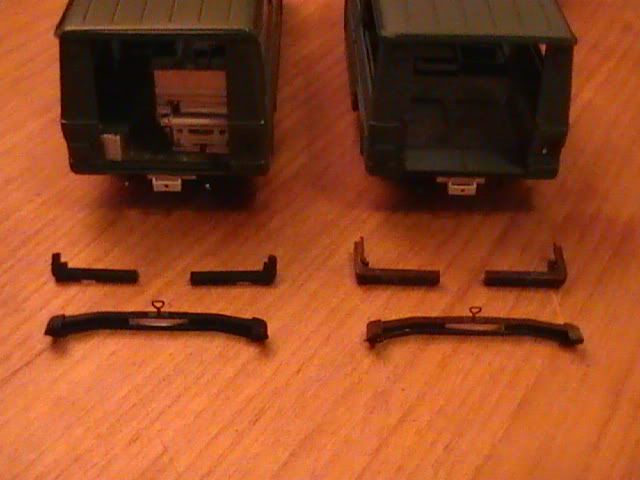 The fire service G waggons have horizontally split doors and the rally G waggon vertically split doors that come formed as part of the full body shell part. There is also the board and number plate lights moulded into the doors that are already factory cut with only tiny joints left that are easily carved to free the doors from the body shell. Van body needs a single, side hung rear door with no glass and supporting a spare wheel. I took all the detail off the horizontally split door and added a new door handle and recess. 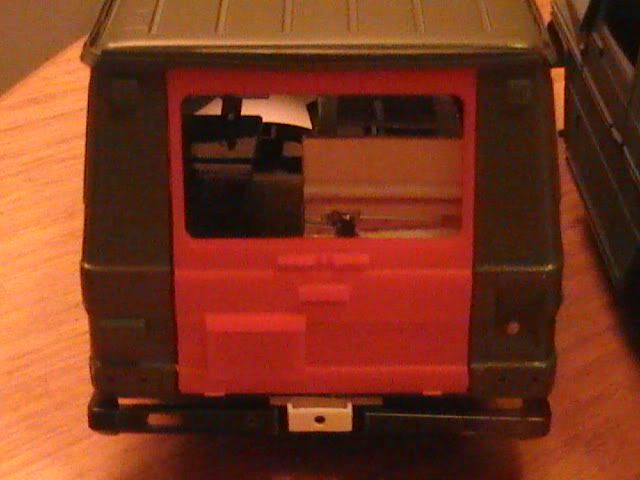 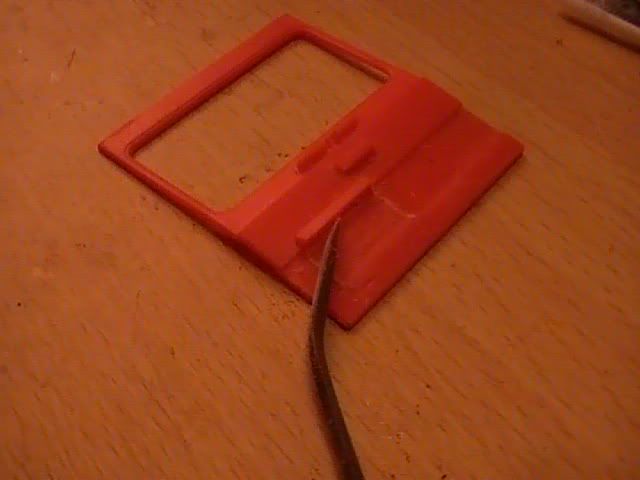 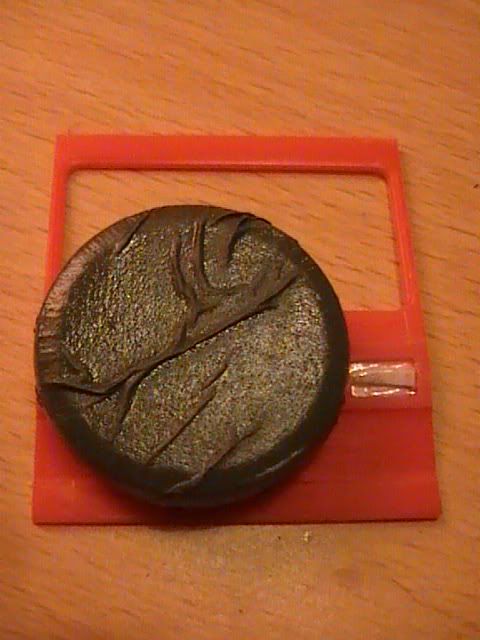 Van body bumpers and door with spare wheel (no hinges yet) 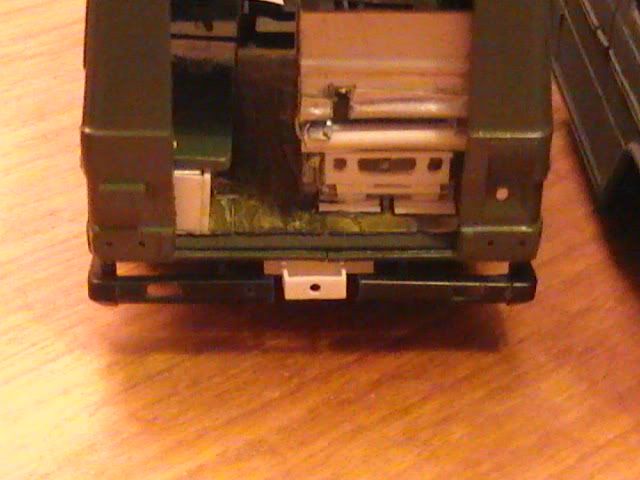 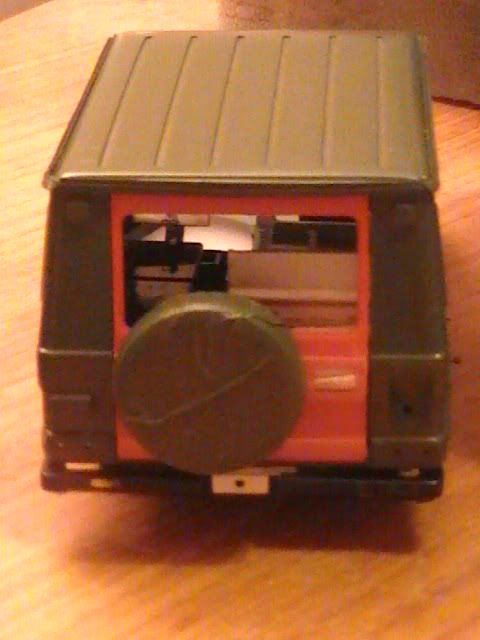 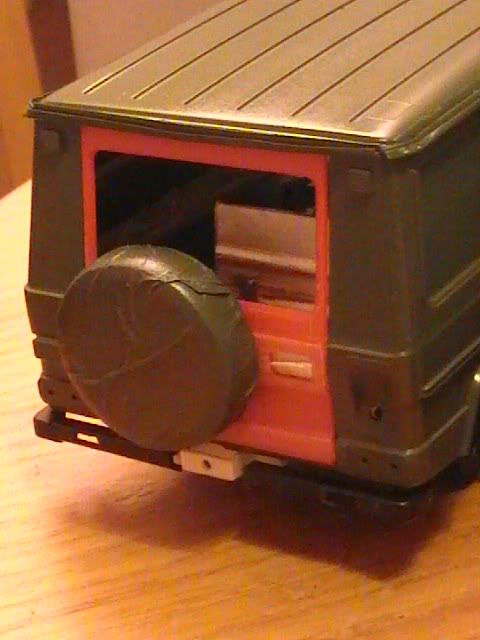 Short wheelbase gets the vertical split doors with the number plate board carefully cut off and saved for adding back on later and the hole filled in. 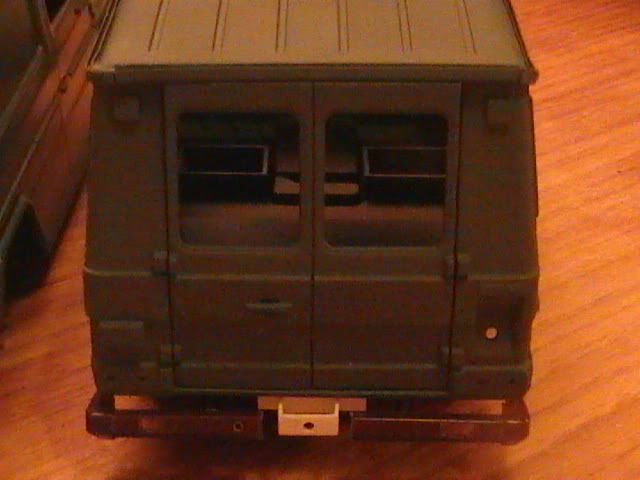 Hope you like Nige |
|
okdoky
Local Delivery Truck Driver
Keep your knives sharp and your glue lids on
Posts: 365
|
Post by okdoky on Apr 19, 2009 17:04:34 GMT -5
|
|
okdoky
Local Delivery Truck Driver
Keep your knives sharp and your glue lids on
Posts: 365
|
Post by okdoky on Apr 21, 2009 16:44:17 GMT -5
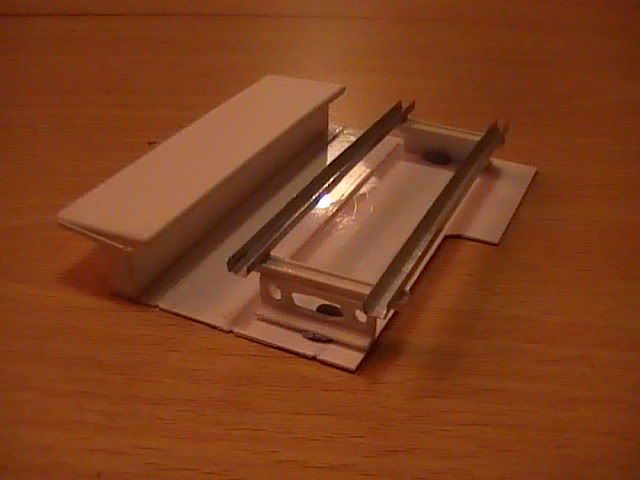
Had a go at making extra convoy marker board and light fittings for the group of vehicles.  I used the Ian Sadler method of burnishing copies of the Revell 1/24 military Unimog marker board. First I wrapped the original plastic piece tightly in aluminium foil taken from a carton of hot chocolate powder. 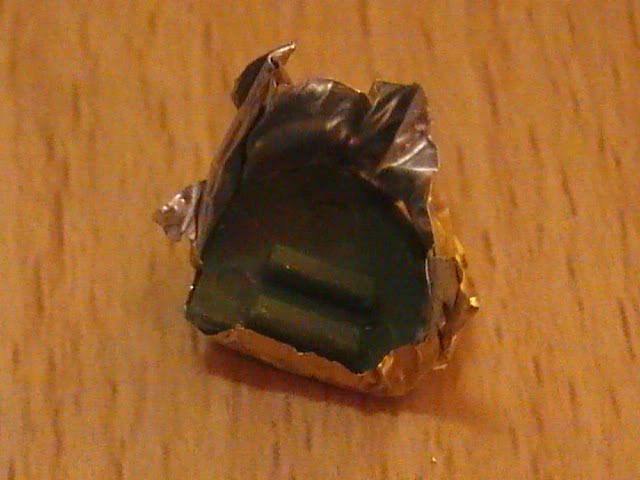 Using a dental tooth pick to burnish the foil down over and into the fine detail  The detail comes up a treat  Care needs to be taken unwrapping the original piece to preserve the detail I used a pair of nail clippers to clip away the excess foil around the edges then picked out the original plastic using the tooth pick again to lever it outof the foil  Here is the results  A blob of super glue in the inprint will hopefully help to preserve the detail and make it less likely to be bent. 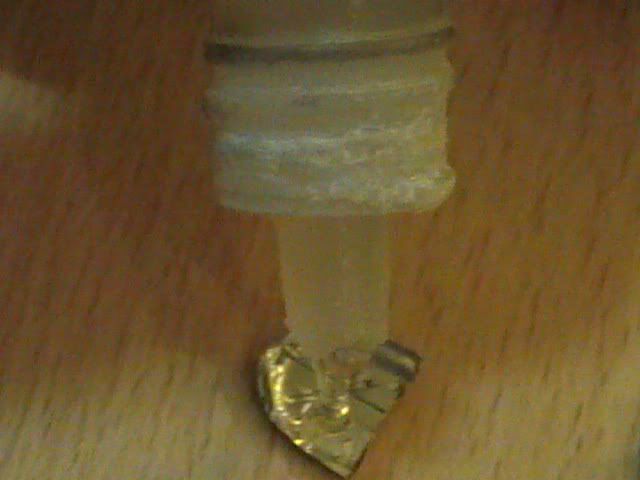 A very cheap, easy and quick method of making extra parts of ready available kit parts. Thanks Ian for giving me the idea last Perth show. Looking forward to getting more hints and tips from you this year. All the best Nige |
|
okdoky
Local Delivery Truck Driver
Keep your knives sharp and your glue lids on
Posts: 365
|
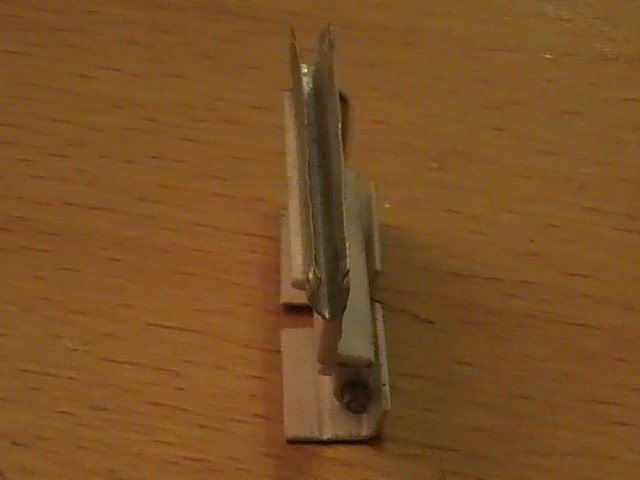
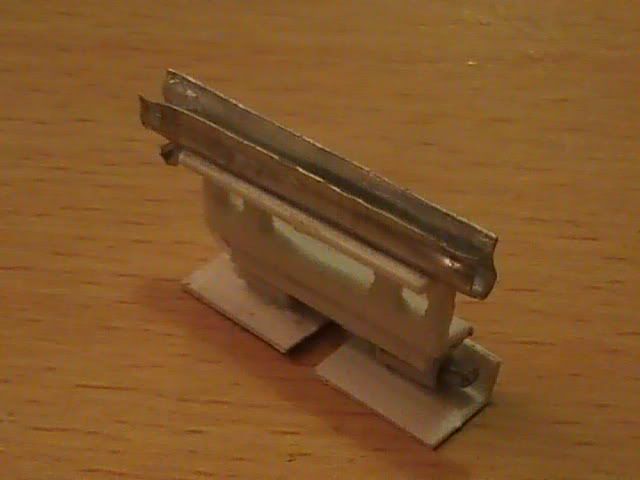
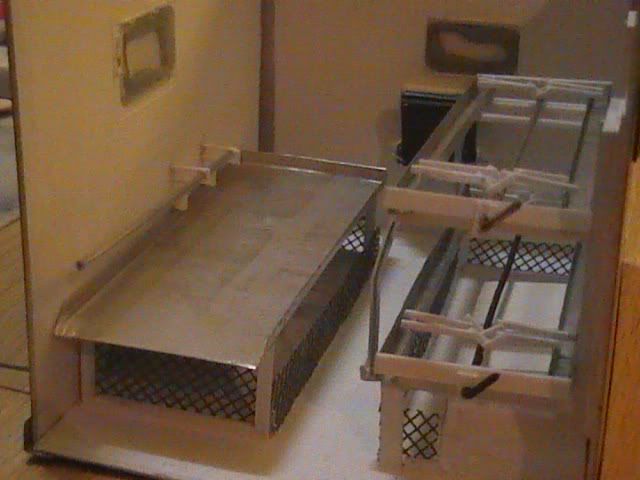
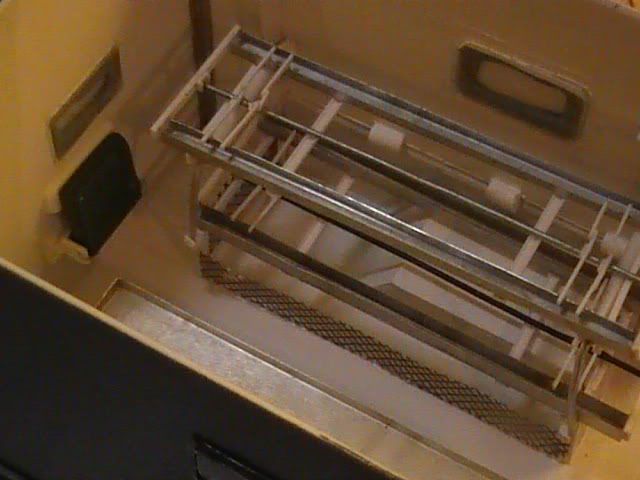
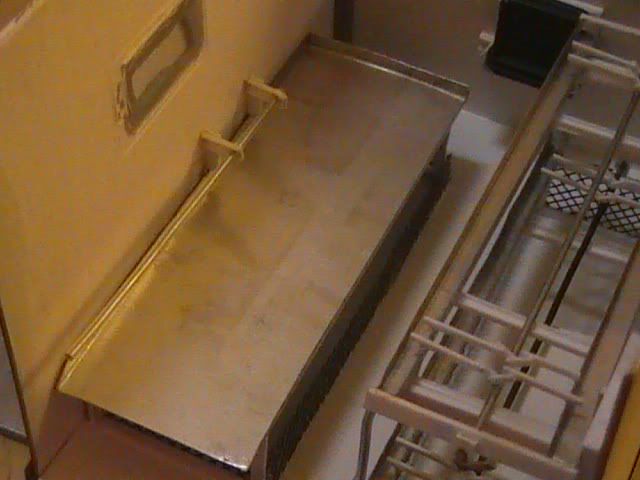
Post by okdoky on May 27, 2009 18:09:20 GMT -5
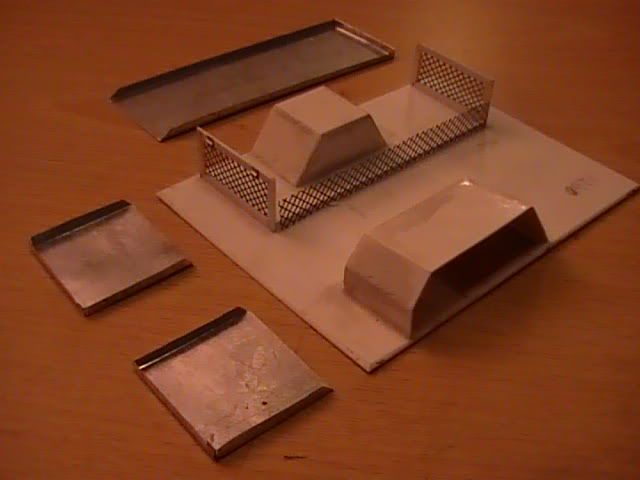
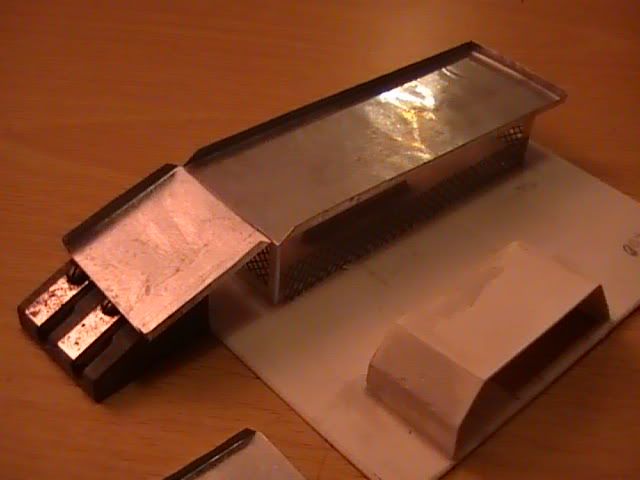
*-) OK MARCO *-) (Armorama Site) I rose to the challenge tonight as I thought I had better try to get something done and you gave me the push I needed to give it a go!!!!!! So I will let you guys be the judge of my first attempt. Use of more Aluminium foil again and burnishing "A La Sandy" Ian Sadler style to press the pattern from sections of plastic cut and sanded to shape. 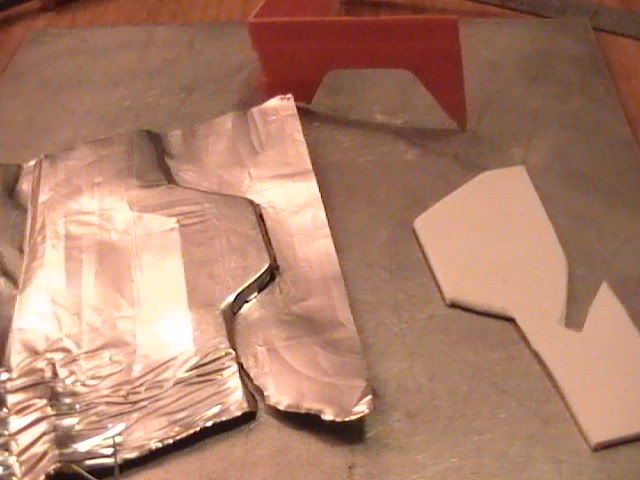 A bit of tweeking on the master still to do and then there is front and opposits of each to make masters of. 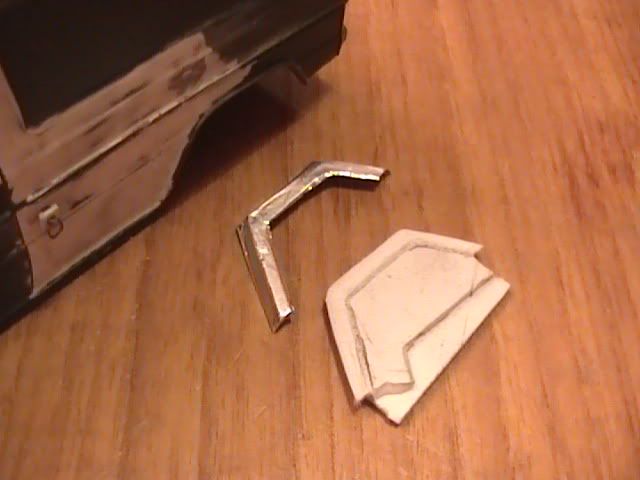 I have decided to also narrow the outside lip / vertical lip a bit more as comparing with the real photos they project out but are not as wide a lip as I appear to have formed here as far as I can see it. 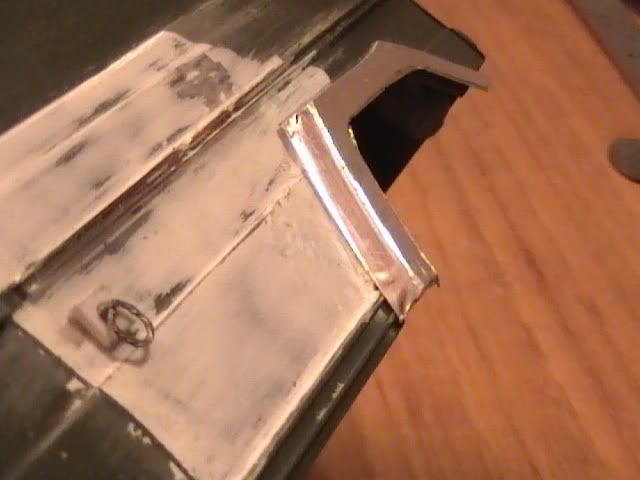 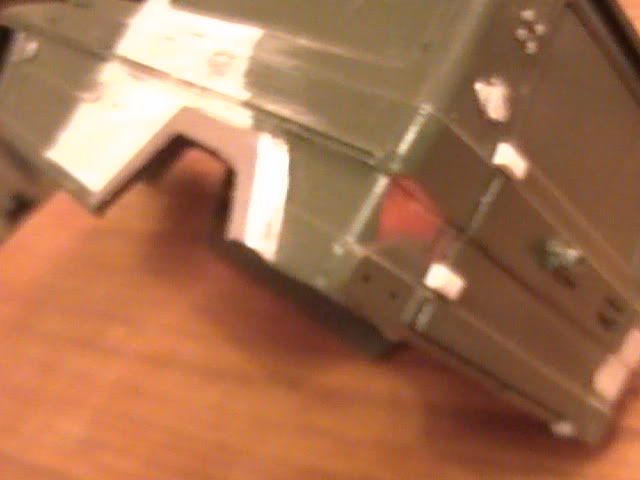 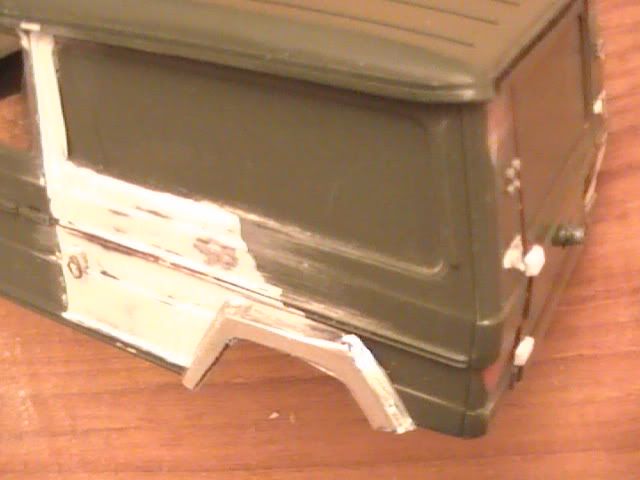 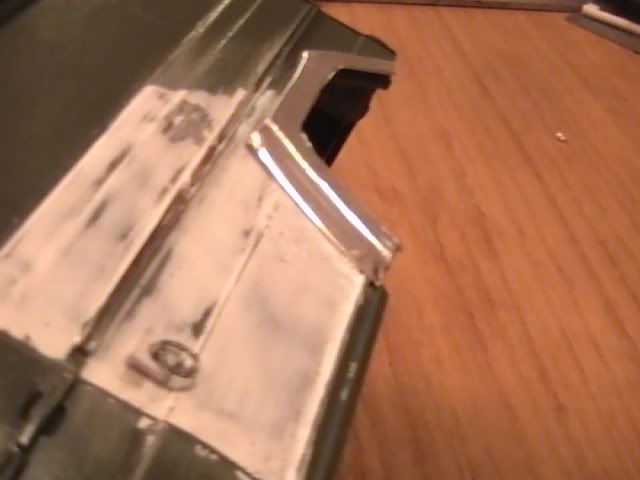 What do you guys think :-? Do you think I should continue with this route or any other suggestions?  Thanks for the support all Nige |
|
okdoky
Local Delivery Truck Driver
Keep your knives sharp and your glue lids on
Posts: 365
|
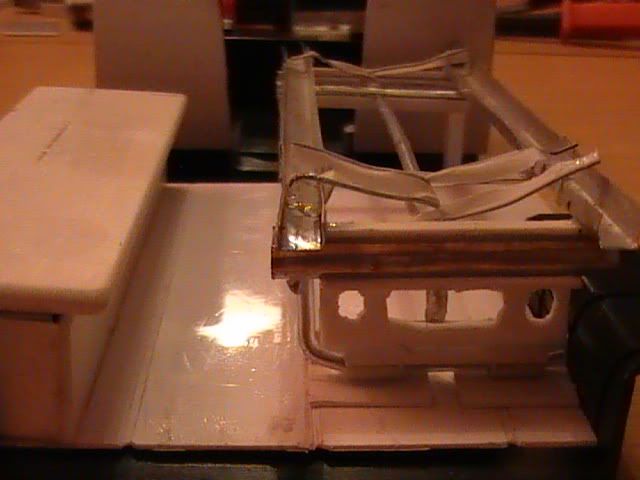
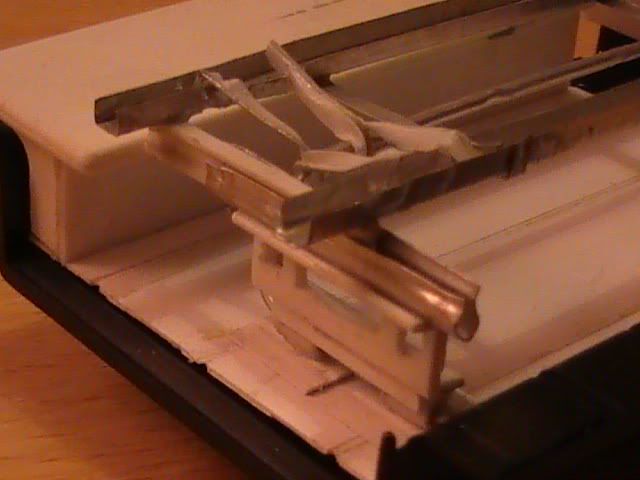
Post by okdoky on May 31, 2009 19:26:42 GMT -5
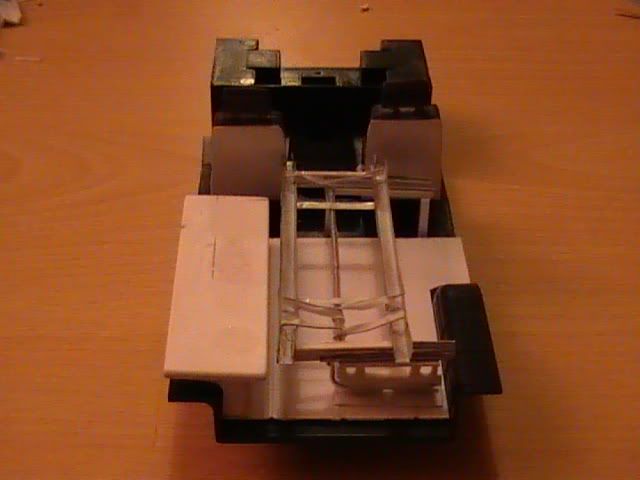
More work on the wheel arches and I thought the front wheel would be the hardest but it seems to have worked well with the first attempt. See what you guys think. Before 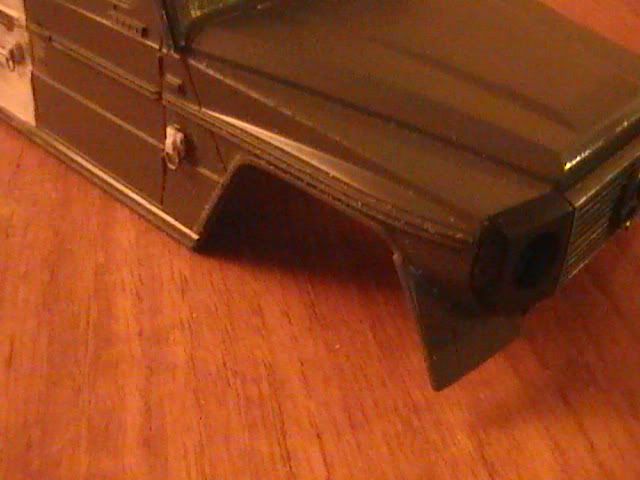 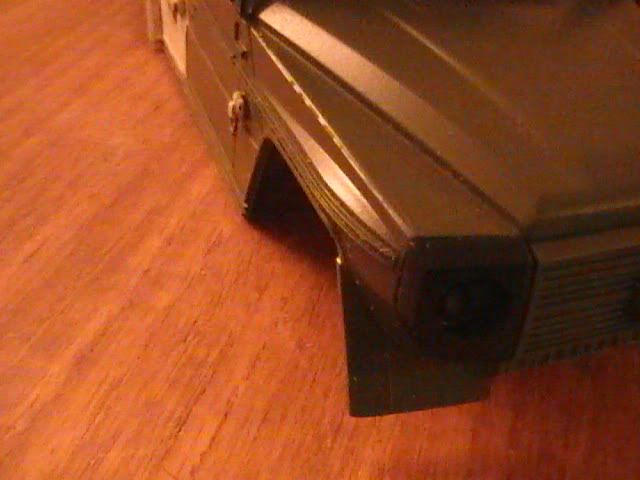 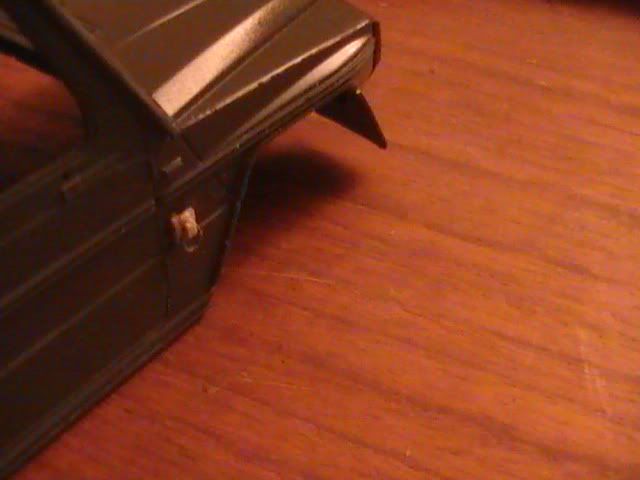 and after 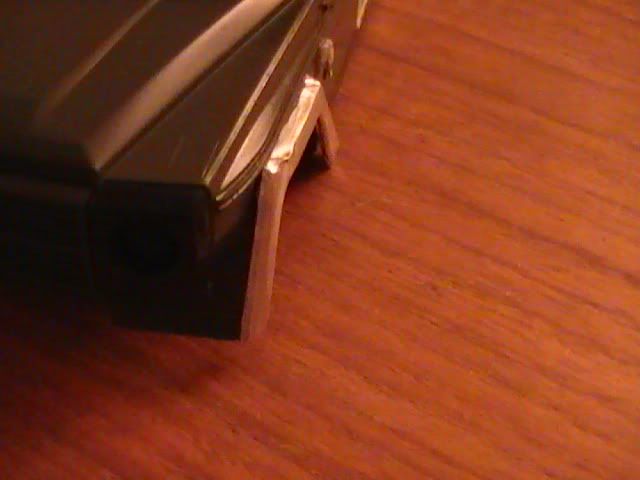 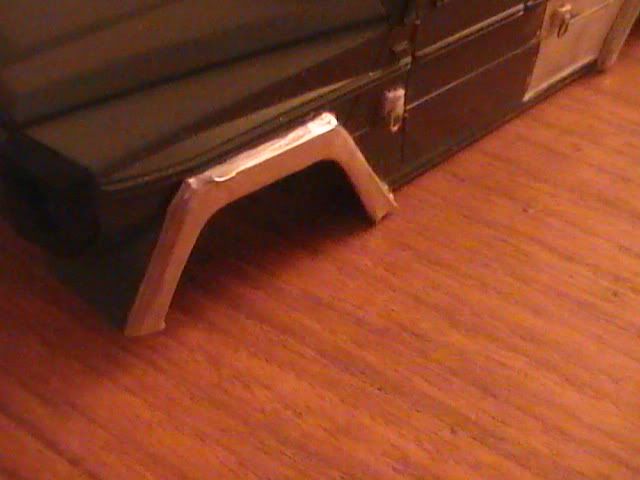 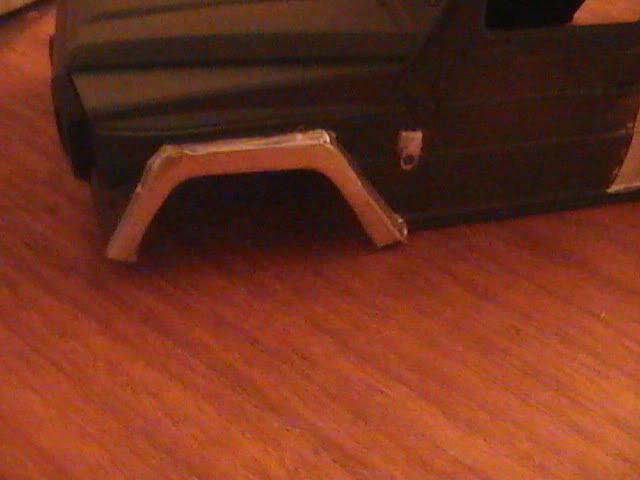 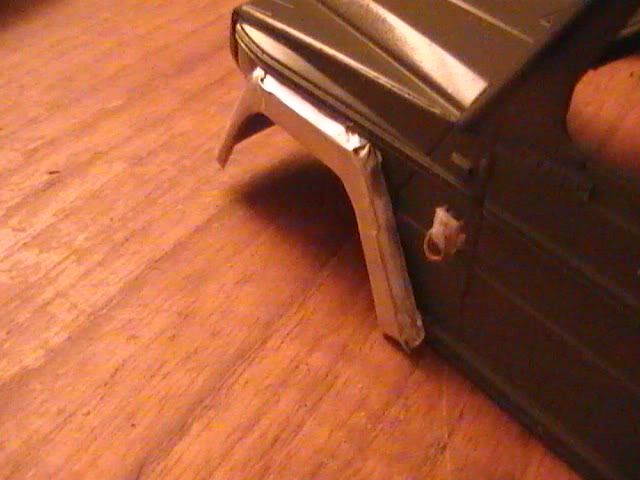 Just got the one front arch to do now so I am done for the night. Work tomorrow. Nige |
|
|
|
Post by signature600 on Jun 3, 2009 20:18:31 GMT -5
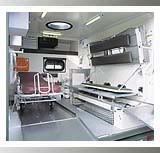
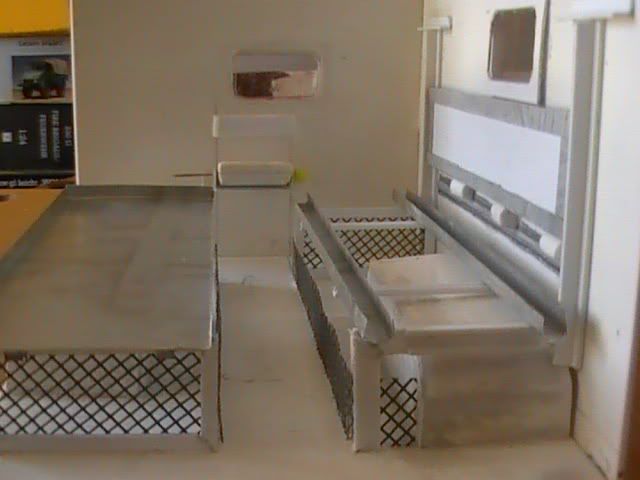
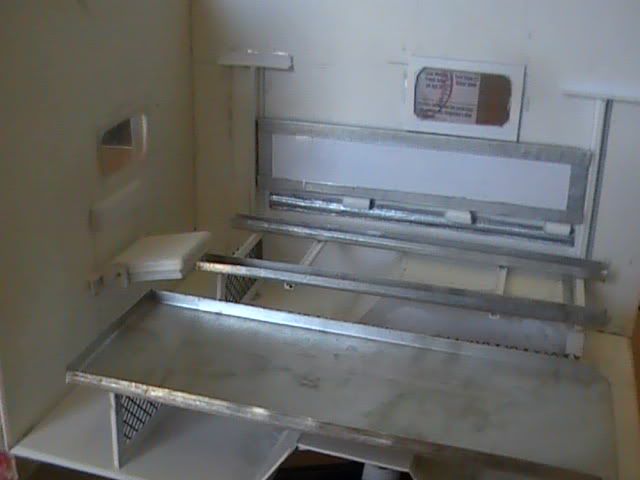
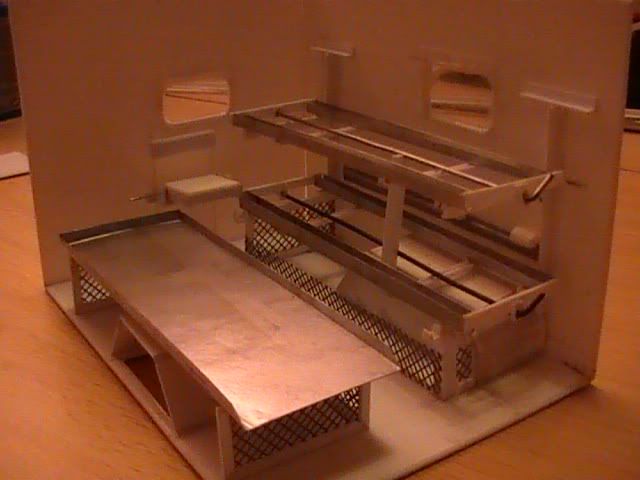
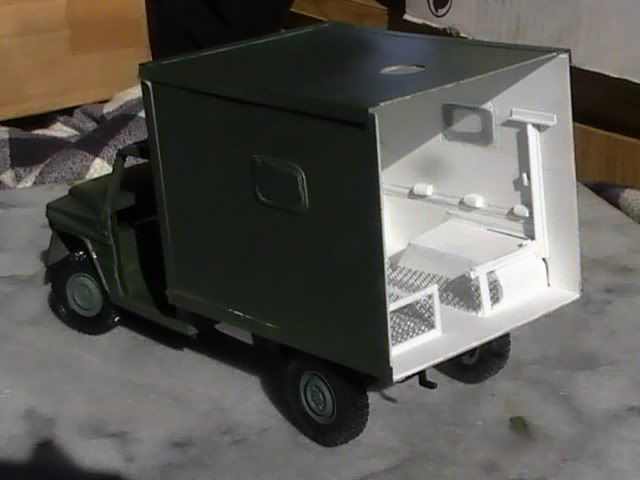
There is some great scratch building skills here, love the interior of the ambulance, and the use of Ali sheet, look forward to some more updates
|
|
okdoky
Local Delivery Truck Driver
Keep your knives sharp and your glue lids on
Posts: 365
|
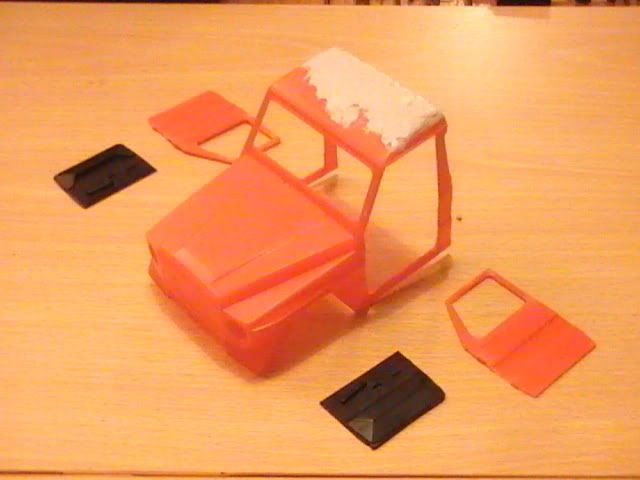
Post by okdoky on Jun 4, 2009 7:27:32 GMT -5
Hi S600
Thanks for the kind comments! I am enjoying the build when I get the time to do stuff. Having made the plastic masters to form the foil extensions to the mud guards it made it easy to run off all the pieces I needed in quick succession. I am reasonably chuffed with how easy the pieces fitted to the plastic.
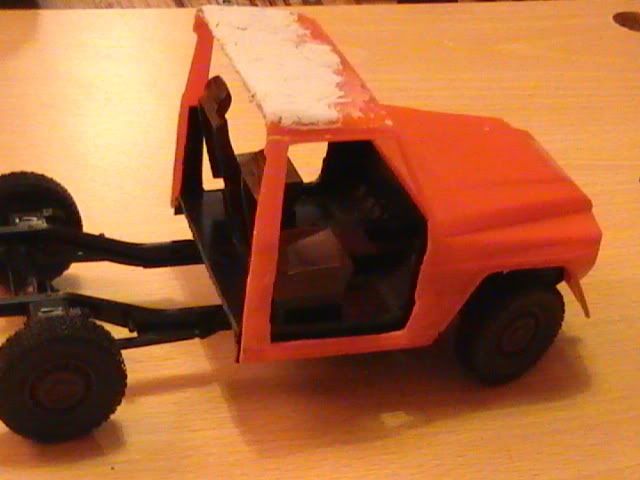
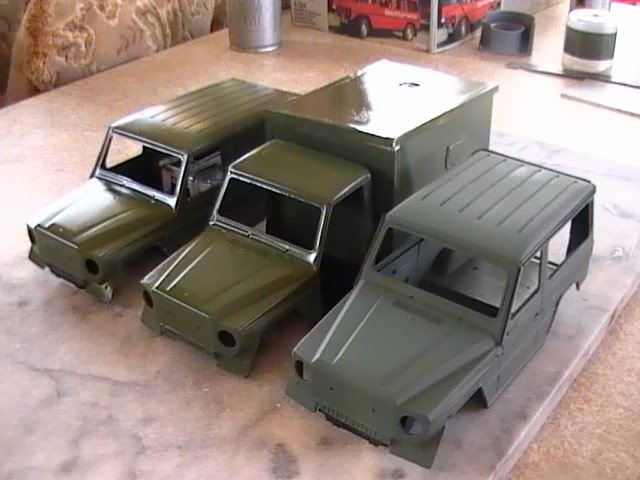
I fitted the two front pieces to the cab of the box body version in no time at all. I need to fill a few minor gaps, smooth the surfaces, prime them and repaint.
Will have to look over the photos to check what other areas need worked on first before I add more paint though. There are the blue beacons and any protectors. Roof racks can be done as separate items hopefully and added after.
The short wheelbase would probably be the easiest to finish off as there is not very much to add that the kit does not provide.
Was attempting to scan and adapt the decals for the Bundeswehr VW's bus conversions and from the 1/24 Unimog kits I have in the stash to alter number plates and give me additional stuff to addorn the models.
Having bother uploading the file to e-mail to my work to use their printers to put on decal sheet. Must have made the file size so damned big with the alterations I did on photo shop 6.
Have got so much to learn on how to use the programme!!!!!!!!!!! Any hints from folks on here would be appreciated.
Will do some update pics soon.
Nige
|
|
tiny
CDL Student Driver
"All Things Are Possible"
Posts: 591
|
Post by tiny on Jul 14, 2009 7:40:53 GMT -5
Excellent Work. The inside of the rescue box is amazing!!
|
|


 Thanks for the support all