Tyson
Local Delivery Truck Driver

Posts: 81
|
Post by Tyson on Sept 27, 2011 7:29:27 GMT -5
I bought this kit from eBay. It was already built by the seller who stated it was built fifteen years ago. It's missing a few pieces here and there, and wasn't built exceptionally well. Decided to strip and disassemble. Planning to rebuild it as a "well worked" old truck. Here are a few pictures from the auction. I went silly and didn't think to take any "before" pictures of my own before I started. 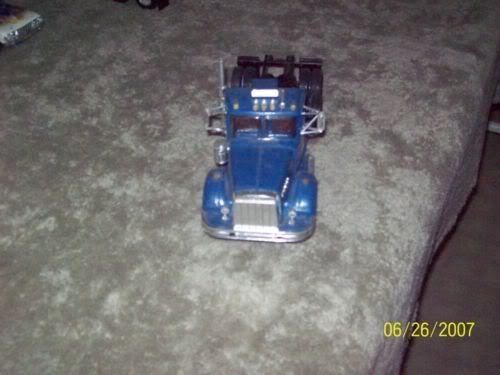 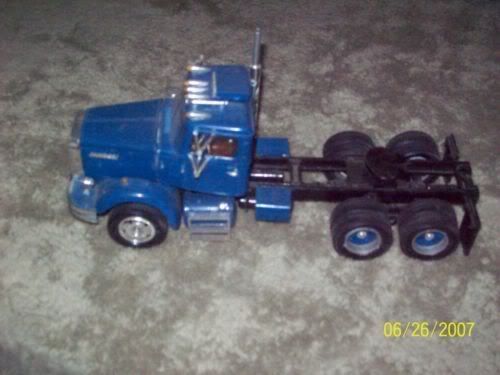  Here are the stripped parts. Can't say this enough: If anyone wants to strip a kit use Dettol Anticeptic Disinfectant (Pinesol in the US). After a 24 hour soak the paint can basically be wiped off as if it's still fresh, wet paint, and leftover paint in the cracks can easily be brushed away with a toothbrush.   Unfortunately, one thing the Dettol doesn't do is loosen the glue (of which there was a lot on this kit). The glue also seems to have been dyed by the paint, so I was left with different coloured glue spots that needed to be dremeled and/or sanded. 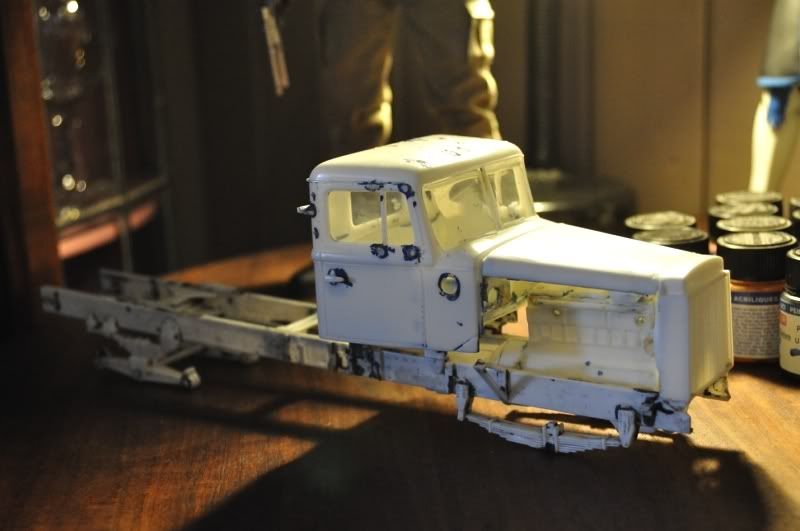 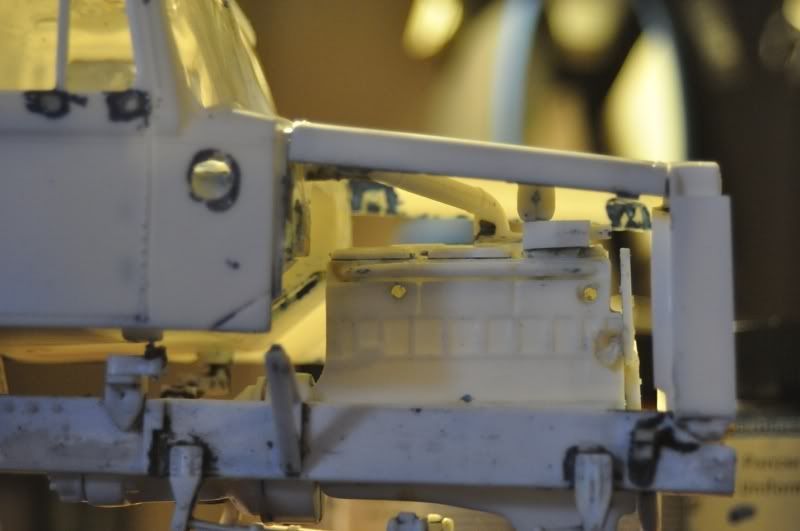  There's no way around it, and I would have expected nothing less, when you're disassembling a near 30 year old kit that was built over a decade ago, no matter how careful you are, there will be breaks. Honestly surprised there weren't more problems, but there were a few things like removing the lights and air-con that left some craters in the cab. Nothing that can't be fixed. One happening that crushed my heart was the left frame rail broke during the clean. I managed, with a bit of plastic and pins, to fix the break and make it look like a patch job of riveted on iron. The good thing about making a run down old truck is breaks, imperfections and other things that would make a regular build look less than attractive actually add some character to the build. 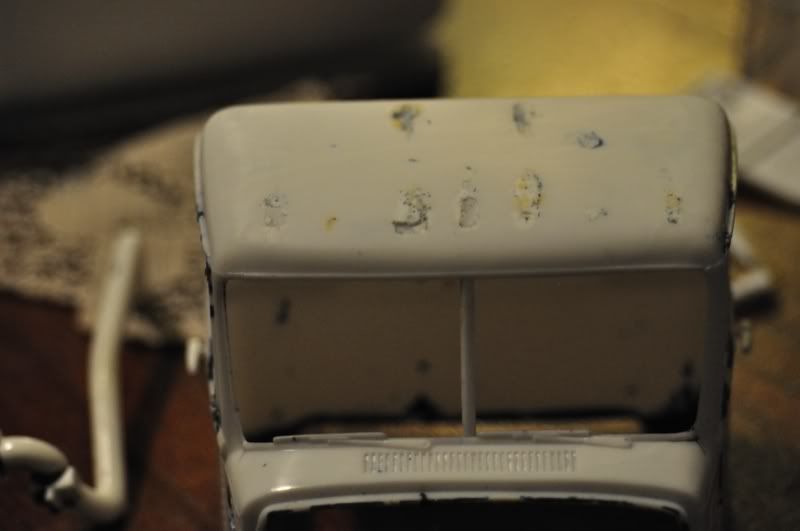 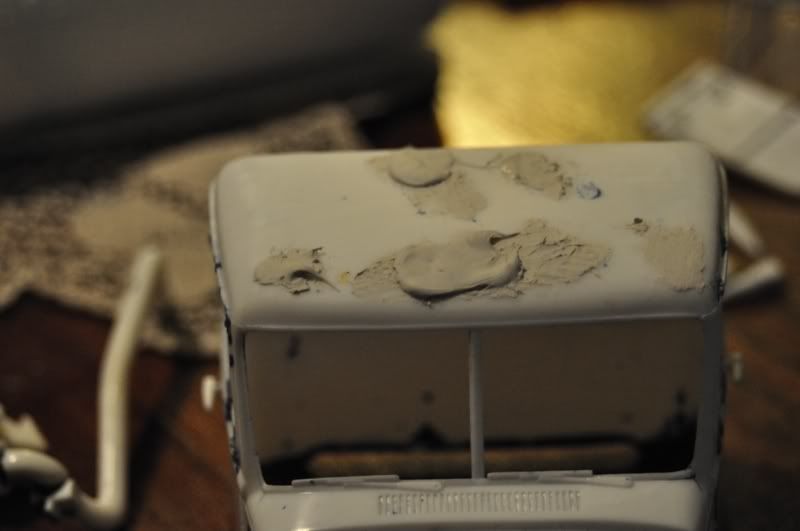 Base coated some pieces in black. 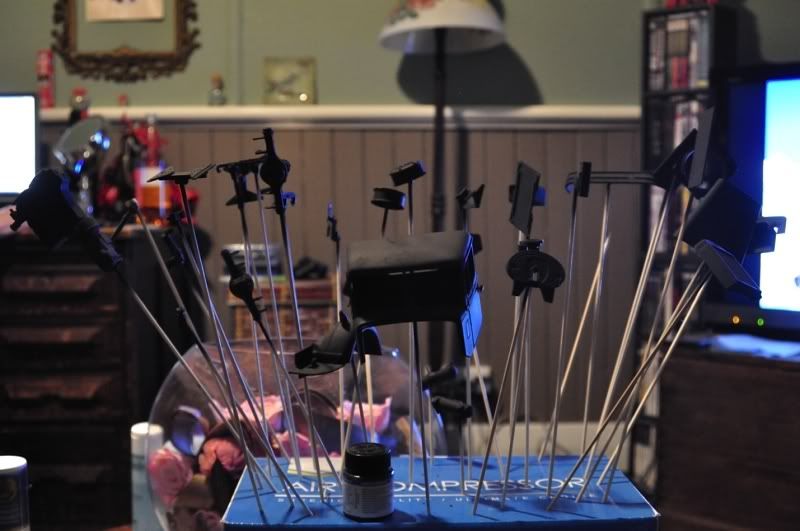 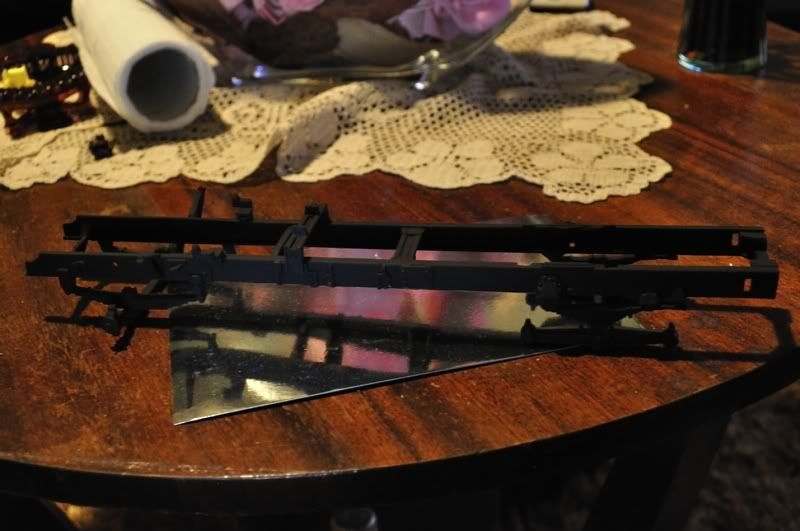 One thing I've always noticed about this kit was the absence of the cap on the radiator. To remedy that I just took a spare fuel tank cap and a standard cotton bud (q-tip). I put a hole in the top of the radiator, cut the stalk from the cotton bud and glue it into the hole and the fuel cap on the top.   |
|
Deleted
Deleted Member
Posts: 0
|
Post by Deleted on Sept 27, 2011 8:06:33 GMT -5
Nice save.
|
|
Arnd
Local Delivery Truck Driver
Posts: 117
|
Post by Arnd on Sept 27, 2011 13:08:22 GMT -5
looks grate keep on that good work
so long Arnd
|
|
Tyson
Local Delivery Truck Driver
Posts: 81
|
Post by Tyson on Sept 30, 2011 5:32:29 GMT -5
Well... I was hoping to have some more progress to show, but it seems fate is against me. I started last night adding the base rust coat. Was planning to let it dry, highlight and shade and then start adding some detail today. About five minutes after I started I got the message that I had to be in to work early (on my birthday no less), so I rushed the paint. Looked at it this afternoon, and was unpleasantly surprised at how bad it looked. Decided that instead of stripping I would just go over with black again to save time. Got everything ready, and my airbrush broke. Dug out the airbrush I got with my compressor that I was keeping as a back up, and it works really well... if I wanted to paint a house.
So... since I have plenty of time on my hands I dipped the kit in the Dettol to restrip, and tomorrow afternoon I'll be off to the hobby shop to buy a new airbrush.
Major hiccup, but I'm very optimistic about this build. Having fun anyway, and that's the important thing.
|
|
scummy
Local Delivery Truck Driver
Comin at ya .
Posts: 217
|
Post by scummy on Oct 1, 2011 22:47:30 GMT -5
G,day mate , it's good to see another ozzie who enjoys restoring old truck models . If you place the truck into the freezer it will make the cement brittle so only the glue breaks and not the plastic , it's worked a couple of times and not other . Project is coming along great so far .
|
|
Tyson
Local Delivery Truck Driver
Posts: 81
|
Post by Tyson on Oct 2, 2011 13:47:43 GMT -5
I'll keep the freezer trick in mind next time I'm disassembling. Well, new airbrush. Let's give this another go. 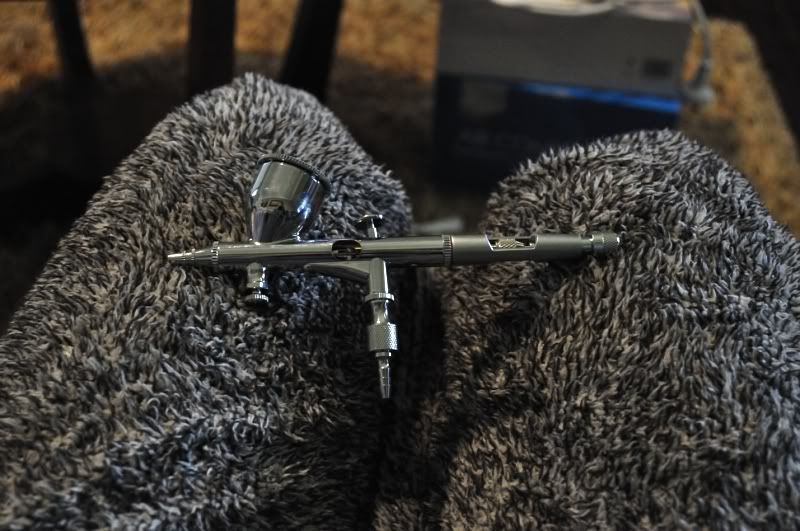 Resprayed the stripped parts in base black again, and while I was waiting on them to dry I set forth to rust up a few parts. Mostly engine parts with a few random chassis bits thrown in. Here they are with the base for the rust.  And here are the completed pieces. 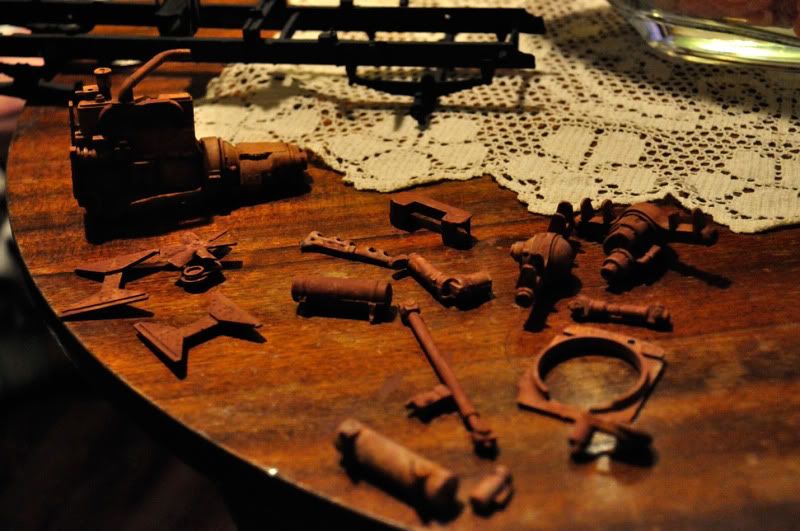 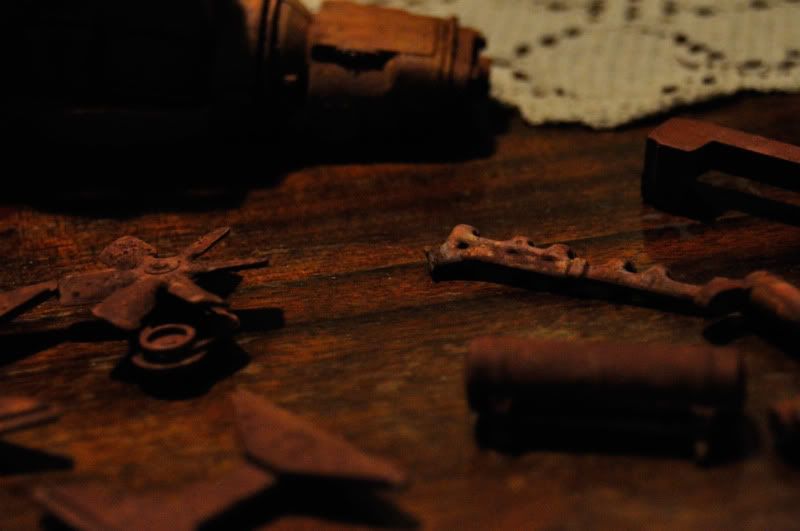 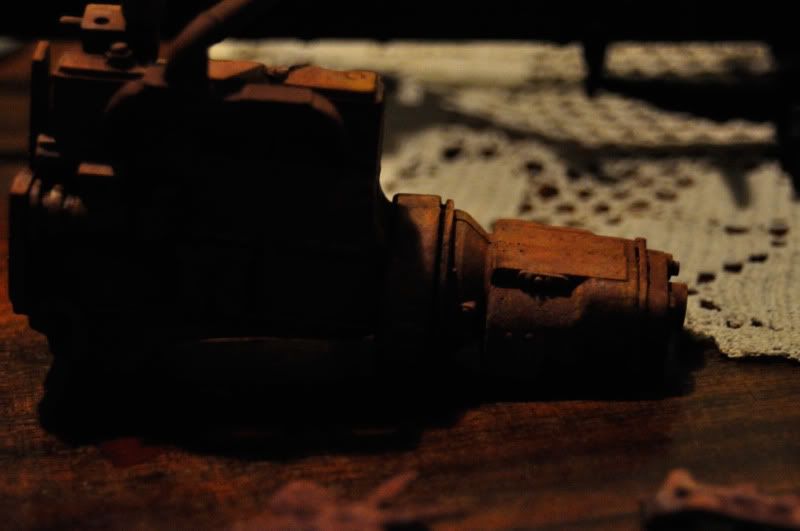 Sorry for the bad lighting, but I'm to lazy at the moment to bother with proper lighting. |
|
Arnd
Local Delivery Truck Driver
Posts: 117
|
Post by Arnd on Oct 3, 2011 0:58:13 GMT -5
the rust looks grate. whow did you do the rust? it looks really realistic.
so long Arnd
|
|
|
|
Post by crackerboxkid on Oct 3, 2011 6:26:40 GMT -5
LOVE those old Autocar kits! Nice to see this one being saved....
|
|
Tyson
Local Delivery Truck Driver
Posts: 81
|
Post by Tyson on Oct 5, 2011 9:11:24 GMT -5
the rust looks grate. whow did you do the rust? it looks really realistic. so long Arnd I'll post up a quick rundown of the steps I go through tomorrow afternoon. It's already way past my bedtime, otherwise I'd do it now. Still chugging right along when I get the spare time. 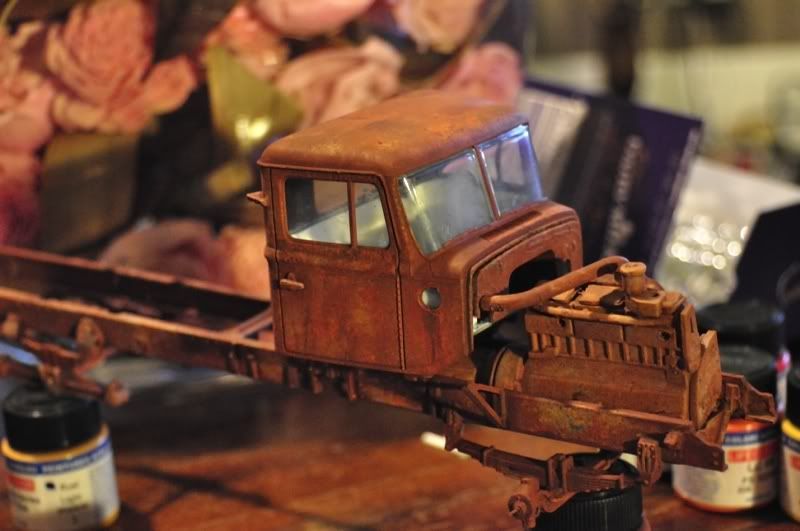 |
|
-DJVG-
Local Delivery Truck Driver
Posts: 134
|
Post by -DJVG- on Oct 15, 2011 22:21:30 GMT -5
looking good, rust is very realistic, thatd be great if you give us a run down on how you do it
|
|
Tyson
Local Delivery Truck Driver
Posts: 81
|
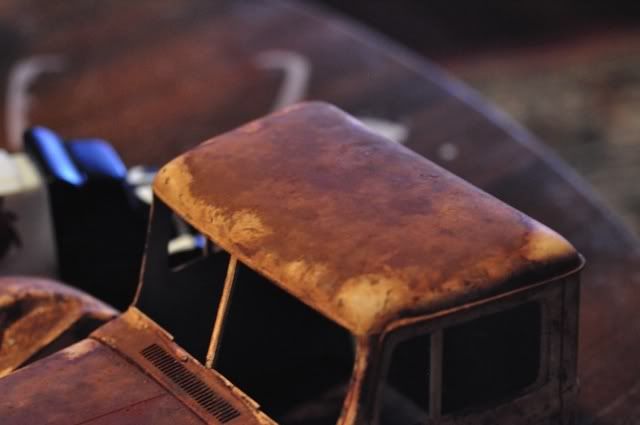
Post by Tyson on Oct 24, 2011 7:16:42 GMT -5
Sorry about the long wait. 70% of the time I'm working. The other 40% of the time I'm lazy.
I've found it really easy to work in steps. And within those steps are smaller steps. That rust job was step one. The steps are as follows.
1) Prime everything to be rusted in black. Allow to dry.
Find a nice rusty looking brown. I prefer to work with acrylics. Lifecolour is all I have access to locally, so I use Lifecolour Rust (UA 702). For large areas I use an airbrush.
2) Lightly layer the rust brown onto the black. Don't go for complete coverage. Leave edges, recesses, etc. with a bit of black peeking through. Allow to dry.
3) With a lighter brown (Lifecolour Rust Light Shadow (UA 704) for me) do the same as with the rust, but make it splotchy. A splotch here and there. You want even less of this than the regular rust. Allow to dry.
4) Next is what I call the dabbing step. You'll want several different colours here. Some that seem a bit out of place, but I promise it all comes together in the end. You obviously don't have to have these EXACT colours. Anything close will be fine, but I'll list exactly what I use. All Lifecolour.
Matte Orange (LC 05)
Yellow (UA 140)
Matte Red (LC 06)
Matte Pale Blue (LC 08)
Giallo (UA 217) [It's really just yellow, but it's part of the 'Camouflage Series' so it's more of a pastel looking, pale yellow]
Light Blue (UA 074)
You can get a green too. I didn't use any on this one simply because I didn't realize I didn't have any green paint until I'd already started the process.
Again, use any variation of these colours if it suits you, but make sure you only use non-glossy colours.
Another tool you will need is a sponge. Make sure it's not too uniform. I personally use several different kinds. I usually stick mostly to those little sponge brushes for painting interior wall edges and corners, but I sometimes use dish sponges for a bit of variety. Just to make things a bit more random I tear the sponges, and routinely switch pieces during the process.
Now, onto the paint. You want to dilute it to a milky consistency. Not too thin though, because you don't want it to run on you, and not too thick, because you don't want 'texture' at this stage.
This is essentially dry brushing, but technically I guess you'd call it dry 'dabbing'. Dip your sponge into your paint (I do them one at a time e.g. yellow then blue then red etc.), but if you want to mix it up, I don't see any harm. In fact, if you want you can even do a bit of experimental mixing (let a few of the colours run together on the pallet).
I had a few things to deal with tonight, so I'll have to cut this short, but I absolutely promise I will finish my little tutorial tomorrow.
|
|
Tyson
Local Delivery Truck Driver
Posts: 81
|
Post by Tyson on Oct 24, 2011 7:19:01 GMT -5
|
|
jbartley
Local Delivery Truck Driver
Posts: 83
|
Post by jbartley on Oct 24, 2011 11:41:39 GMT -5
Thanks for sharing this. The model is coming along great!
|
|
Tyson
Local Delivery Truck Driver
Posts: 81
|
Post by Tyson on Oct 25, 2011 4:17:56 GMT -5
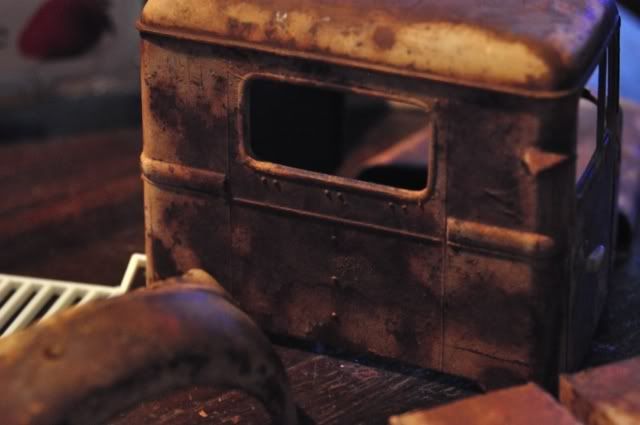
Now take your sponge and dab it into your paint. Have a spare paper towel or something to lightly dab off excess paint and then randomly dab the sponge over the area of your model. the more random the better. With colours like orange and yellow you want more coverage. With other colours like blue you want less. Keep the blues spaced pretty far apart. This takes plenty of time and patience. Don't rush it, and when you're done you'll have what's pictured in the mock up pic of the cab on the chassis. That is what I consider my base rust coat. Later I'll share how I went about getting the rust throughs and the flaky paint.
|
|
mudbogginjeepfreek
Local Delivery Truck Driver
http://s21.photobucket.com/albums/b259/truckerbd/jeep/?action=view¤t=er16-vi.jpg
Posts: 357
|
Post by mudbogginjeepfreek on Oct 25, 2011 20:08:44 GMT -5
yu know it looks great but wy of all things u could have used an autocar ther so hard to fined any more! but GREAT JOB Still!
|
|