rnagle
CDL Student Driver

Posts: 564
|
Post by rnagle on Mar 8, 2014 13:29:18 GMT -5
Red paint! Actually got it painted last weekend, have been letting it cure for the week: 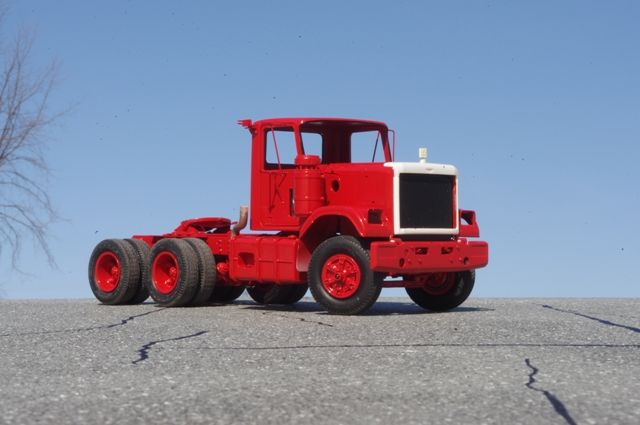 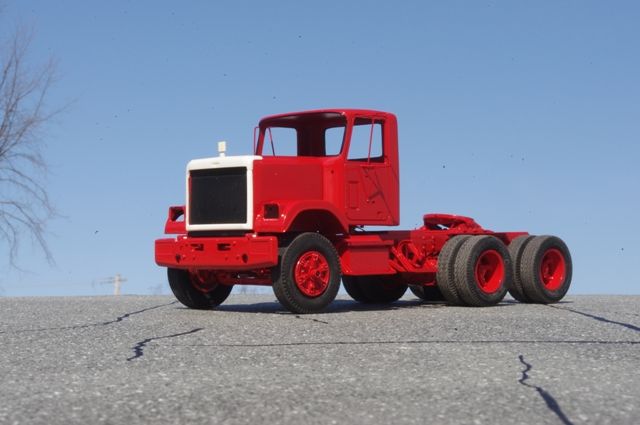 |
|
rnagle
CDL Student Driver
Posts: 564
|
Post by rnagle on Mar 8, 2014 13:45:24 GMT -5
Engine in place, what looks like wiring version of a bad hair day is loose ends coming from frame which will go to various locations on firewall once cab installed. 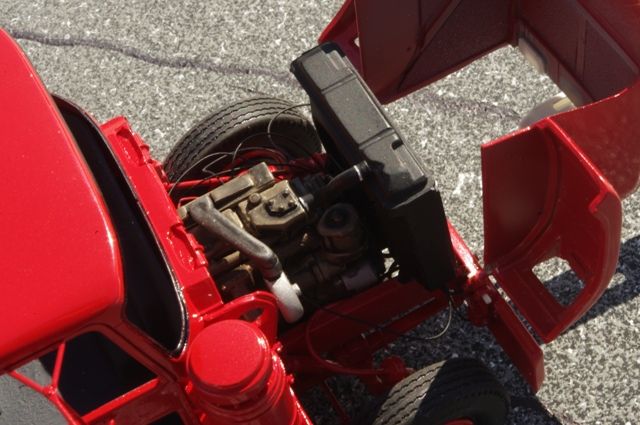 Notches cut into hood top where handholds are provided on grille shell, .030 x .250 styrene strip on inside of hood to represent built out area on fiberglass hood for handhold clearance. Doesn't really show up in photo but hood ornament broke off base while cleaning part up, substituted .032 brass wire rather than try regluing plastic part. 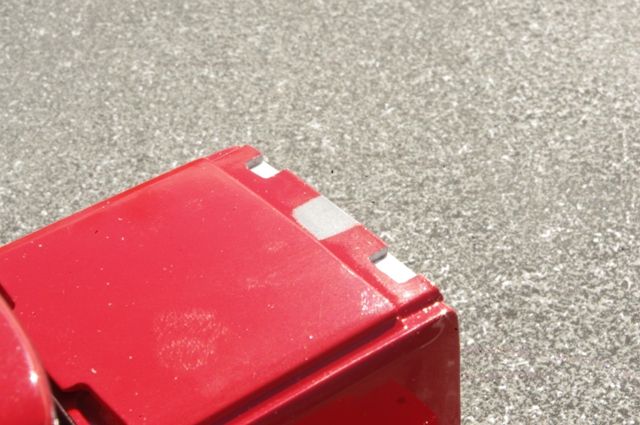 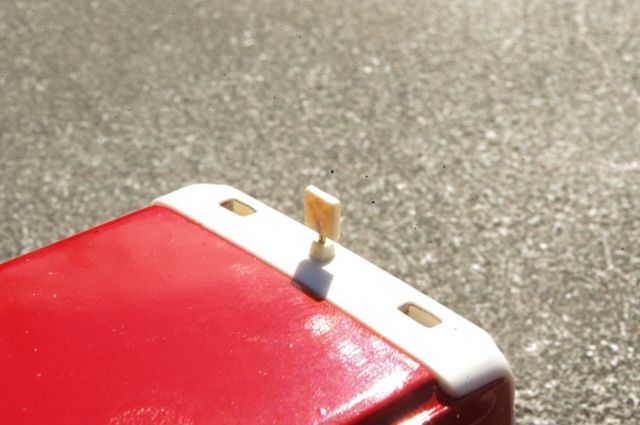 |
|
Deleted
Deleted Member
Posts: 0
|
Post by Deleted on Mar 8, 2014 17:59:34 GMT -5
Looking really nice. Is that a thumb print on the top of the hood?
|
|
Deleted
Deleted Member
Posts: 0
|
Post by Deleted on Mar 8, 2014 18:14:03 GMT -5
Jim looks like that is where El Birdo sat and spread his wings and didn't notice the paint was wet.
|
|
rnagle
CDL Student Driver
Posts: 564
|
Post by rnagle on Mar 8, 2014 19:29:32 GMT -5
Thumbprint? 'Fraid so  .......good thing is, it isn't in the paint iself, just on surface. Wiped off easily - El Birdo not to blame for this one! In a fit of cross-eyed madness this afternoon, got lettering applied. Microscale # 90101 letter/number set from their HO scale model railroad selection provided decal lettering, applied one letter at a time. Actually didn't go too badly, using waterslide decals permitted checking and correcting alignment as I went along. Shield logo was drawn on CAD, printed on Testors white decal paper. 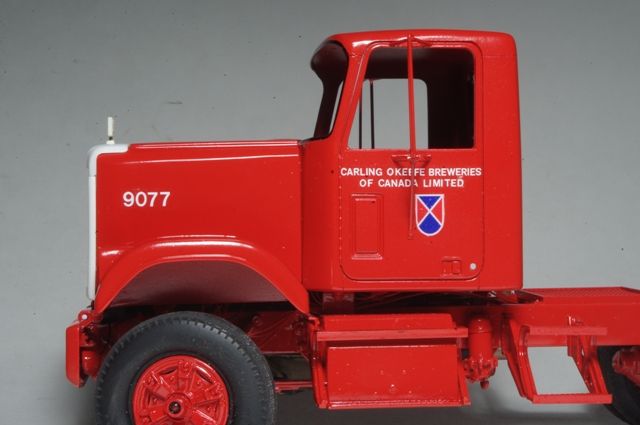 |
|
Deleted
Deleted Member
Posts: 0
|
Post by Deleted on Mar 8, 2014 19:31:28 GMT -5
Nice lettering. I've used MicroScale lettering before. Yes, you do go cross-eyed, but they look really nice.
|
|
mart
Local Delivery Truck Driver
Posts: 346
|
Post by mart on Mar 9, 2014 0:13:31 GMT -5
A very good looking truck! All parts painted red also looks good!
Martin
|
|
groundhog
Local Delivery Truck Driver
Posts: 287
|
Post by groundhog on Mar 10, 2014 14:24:22 GMT -5
AWESOME DETAIL, GREATJOB. GROUNDHOG.
|
|
|
|
Post by thebrush56 on Mar 10, 2014 16:01:03 GMT -5
This is looking really good. Nice job on the lettering.
Graham.
|
|
|
|
Post by gatormarcstaug on Mar 10, 2014 20:22:58 GMT -5
The lettering looks good on the red paint. i like it!
Be Well
Gator
|
|
rnagle
CDL Student Driver
Posts: 564
|
Post by rnagle on Mar 14, 2014 22:39:26 GMT -5
Thanks guys, going slowly bug-eyed again with one of the mundane little detail parts that just about every truck has these days, convex spot mirror. Tried a little different approach with this one, using 1/4" disk punched from .010 brass sheet. Strip .040 wide cut from same sheet bent for mounting bracket & soldered in place. Two nut/washer castings simulate fasteners, drop of epoxy on face gives proper convex surface. Will Alclad for reflective surface, on this truck mirror body itself was black: 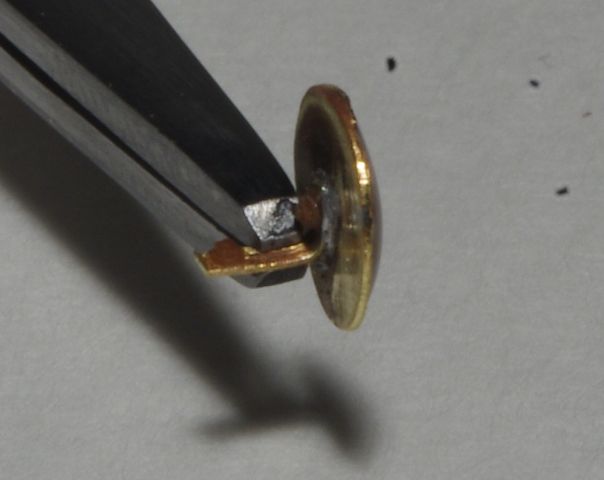 |
|
rnagle
CDL Student Driver
Posts: 564
|
Post by rnagle on Mar 19, 2014 21:04:27 GMT -5
Slowly getting there, mudflaps made from .015 styrene sheet & strip with 1/32" square brass bar hangers. .005" shim brass cut to strips .060 wide soldered to square bar where flap bolts to hanger, Tichy Train Group bolt heads attached with ACC. Bracket on frame is piece of 1/16" square brass tube soldered to 1/64" brass strip, drilled & pinned to frame: 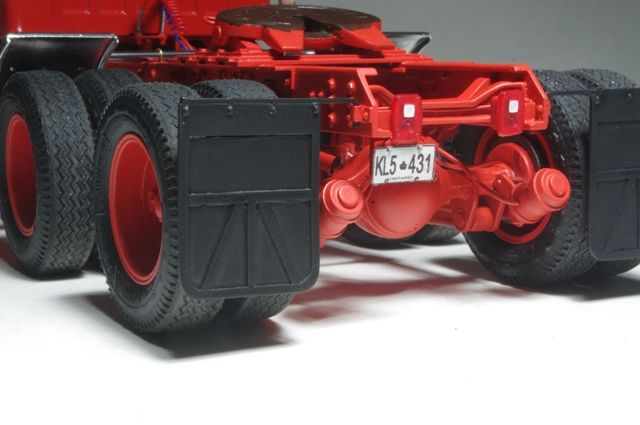 Cab interior mostly stock, low back seats from Titan/90 kit used with backs filled in. Free standing details added include window cranks, door pull straps, door handles (taken from "snap" Pete 359 kit sleeper, shifter from that kit also used), toggle switches and brake knobs. Floor mat is scribed styrene sheet. 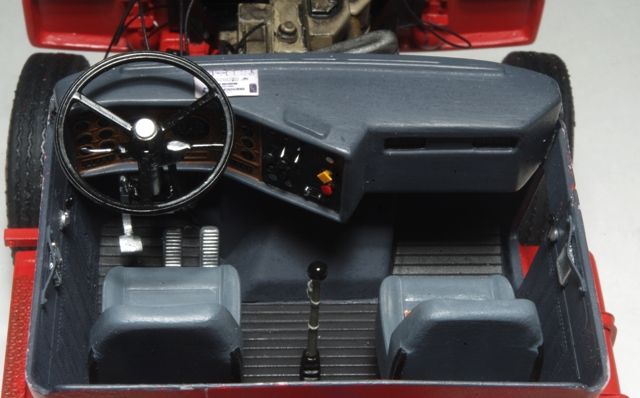 Cab & hood set in place, still lots to do yet in the way of "fiddly bits" but looking like a truck. Detail Master p/e grille used. 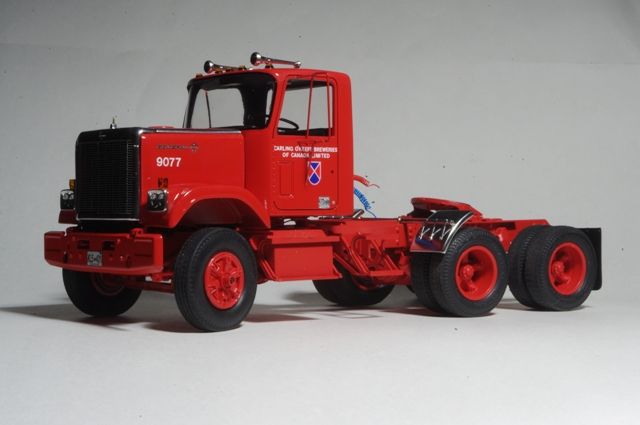 |
|
rnagle
CDL Student Driver
Posts: 564
|
Post by rnagle on Mar 24, 2014 20:06:08 GMT -5
Some more small fiddly items completed, mostly under the hood. Kit air intake piping wouldn't work as engine was changed to a Cummins, aluminum tube and pieces of intake piping from 2 of the "snap" 359 kits used. Rad braces are .035 styrene rod. 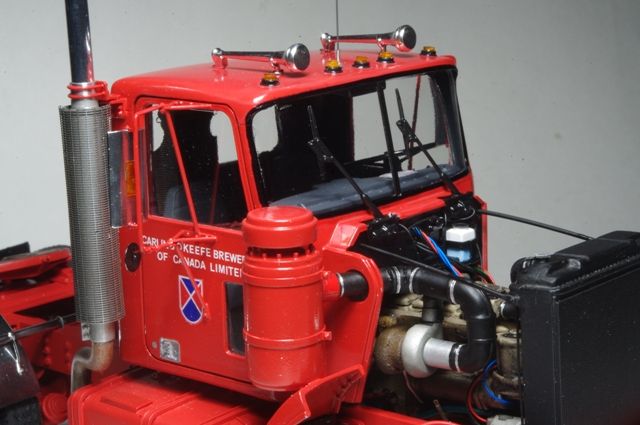  Out back, Plaskit's glad hands and electrical plugs made adding trailer hook up easy, lines themselves are 30 gauge coloured wire coiled around 1/16" rod.  |
|
|
|
Post by truckabilly on Mar 25, 2014 3:10:17 GMT -5
This looks pretty good in red. I like the amount of details and weathering. Plumbing in the engine bay looks very nice too. Maybe a bit too shiny compared to the weathered engine? But that´s not big a problem. The build is on a high level.
Jarda
|
|
rnagle
CDL Student Driver
Posts: 564
|
Post by rnagle on Mar 25, 2014 21:46:31 GMT -5
Thanks Jarda, you are right, some slight weathering still needed under hood (and on lower areas of frame/running gear too) Mix of plastic kit parts & scratchbuilt brass ones: Grab handles are kit parts cut free from stack, drilled for .016 brass wire pins. 1/64 x 1/16 brass flat bar bent to match stack, drilled in centre to fit over pin. Stack and heat shield drilled to match, grab handle will receive Alclad chrome. Pins will ensure good solid connection once assembled. 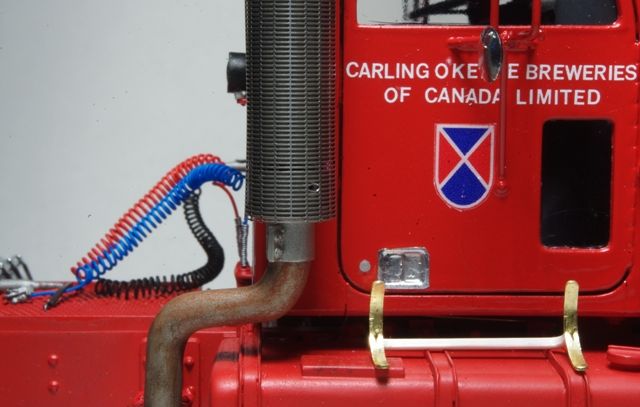 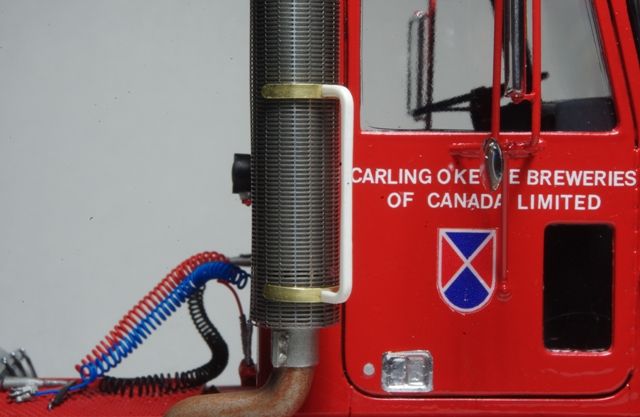 |
|


 .......good thing is, it isn't in the paint iself, just on surface. Wiped off easily - El Birdo not to blame for this one!

