|
|
Post by dieseldoc on Oct 5, 2010 9:26:41 GMT -5
|
|
Deleted
Deleted Member
Posts: 0
|
Post by Deleted on Oct 5, 2010 10:26:36 GMT -5
Looks pretty good. Frame looks clean, and nice & straight. I haven't built this kit yet. Any pit-falls I should be aware of?
|
|
|
|
Post by dieseldoc on Oct 5, 2010 11:41:34 GMT -5
So far I have found that the left battery box will not go in correctly if the the left cab / front fuel tank hanger are out of alignment ever so slightly. I fixed this with my trusty exacto knife by triming the inside rear corner of the battery box.
|
|
Deleted
Deleted Member
Posts: 0
|
Post by Deleted on Oct 5, 2010 14:00:05 GMT -5
Thanks.
|
|
78KW
Regional OTR Driver
 Hard Time don't last...Trucker's do!
Posts: 2,467
|
Post by 78KW on Oct 5, 2010 20:22:26 GMT -5
Cool project. I wondered what happened with this one.
|
|
|
|
Post by dieseldoc on Oct 6, 2010 8:12:54 GMT -5
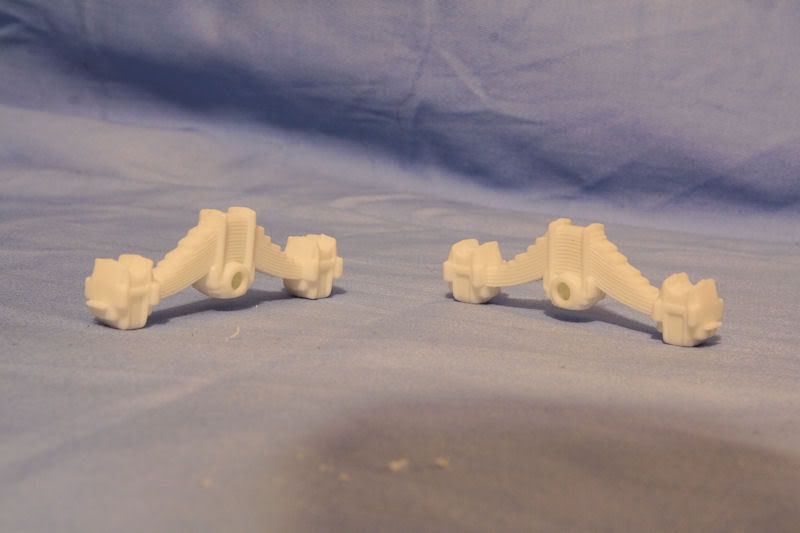
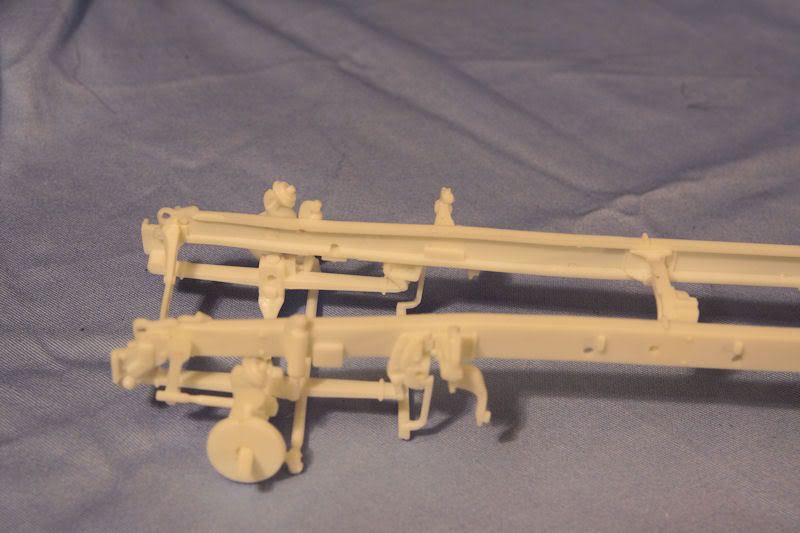
So far I have found that the left battery box will not go in correctly if the the left cab / front fuel tank hanger are out of alignment ever so slightly. I fixed this with my trusty exacto knife by triming the inside rear corner of the battery box. Well after last night session at the bench it turns out I mounted both front fuel tank hangers in the wrong position. The drawing in the instructions isn't very good for this part. Here is how I mounted the part originally. 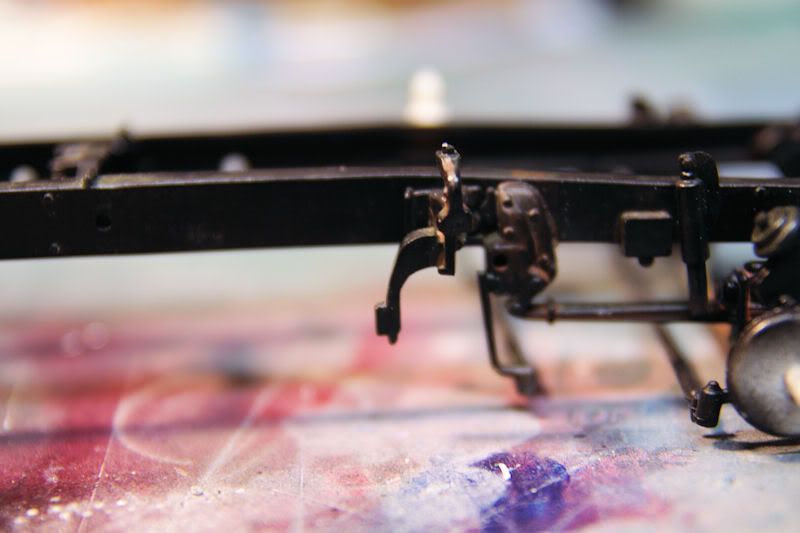 And this is how it is supposed to be. Thanks to my many spare parts boxes and horse trading in the past I have the extra parts to correct this error. 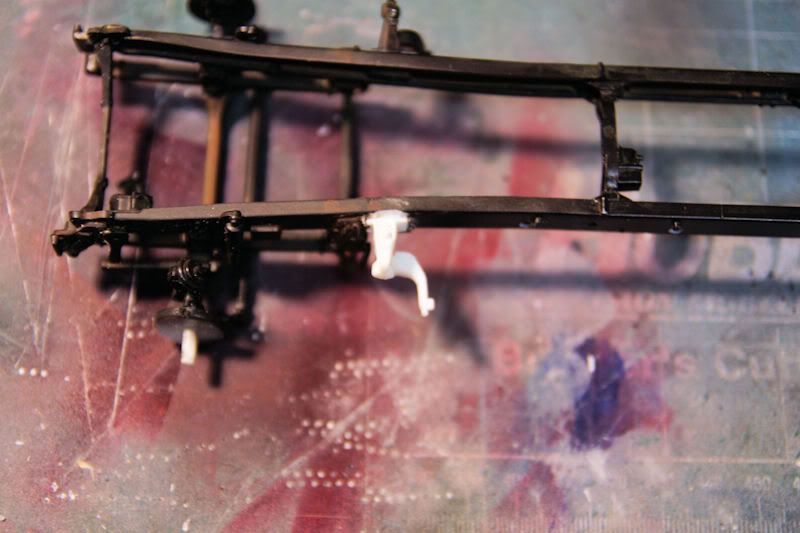 |
|
|
|
Post by dieseldoc on Oct 6, 2010 8:31:27 GMT -5
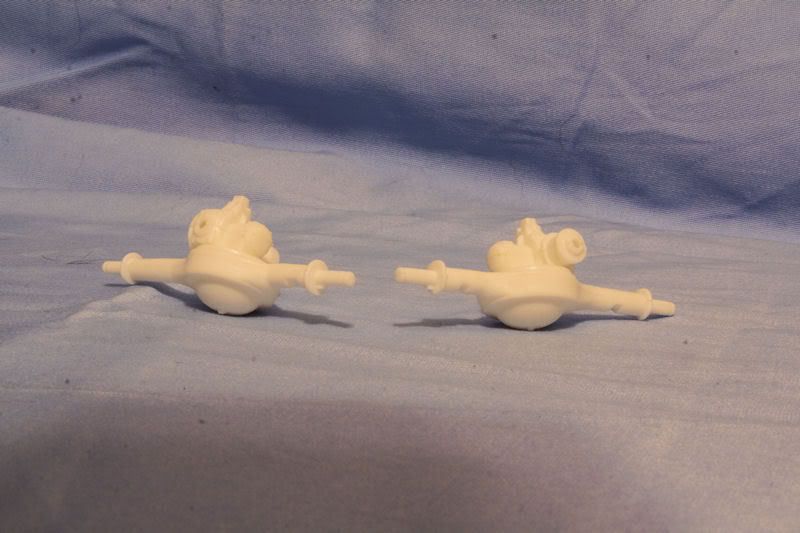
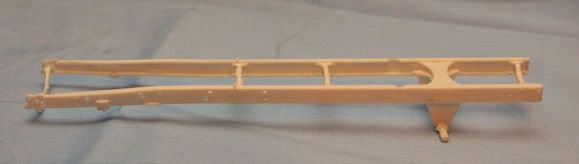
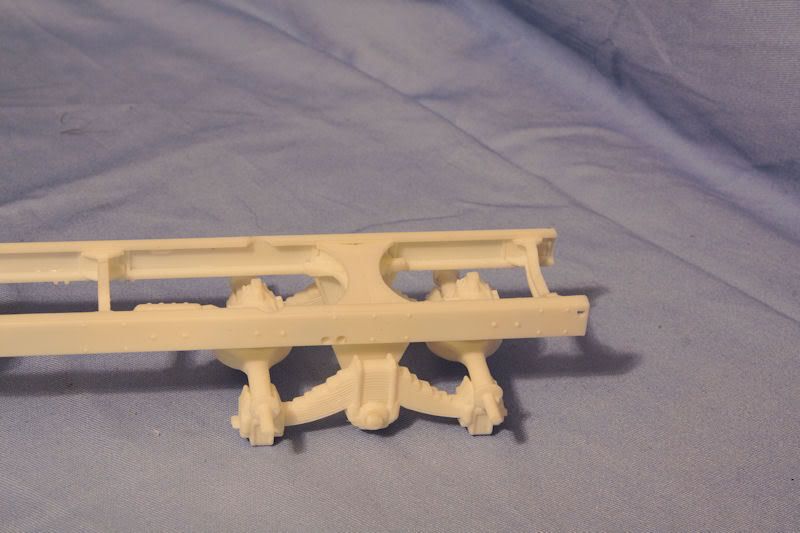
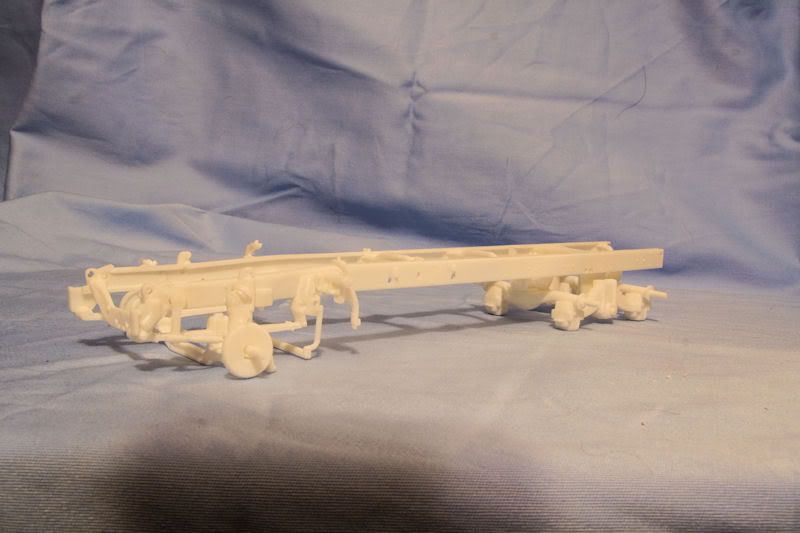
So after last nights frustrating night at the bench I did a mock up of the build and took some pictures. 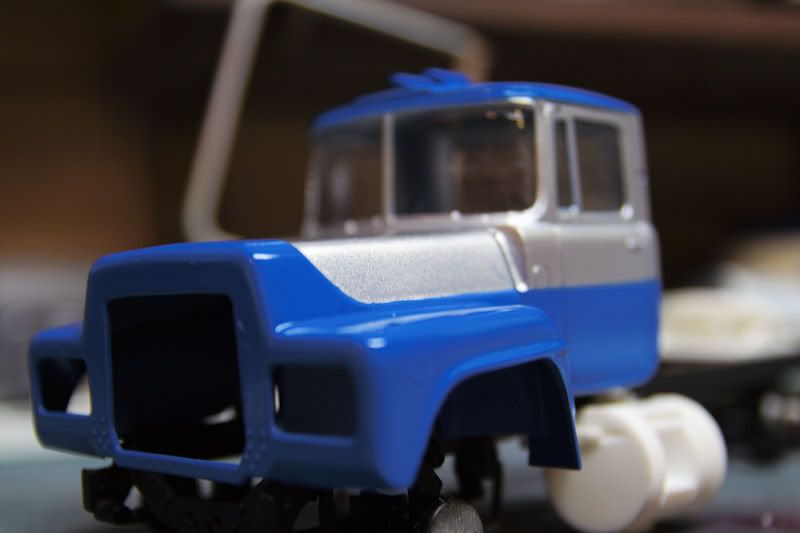 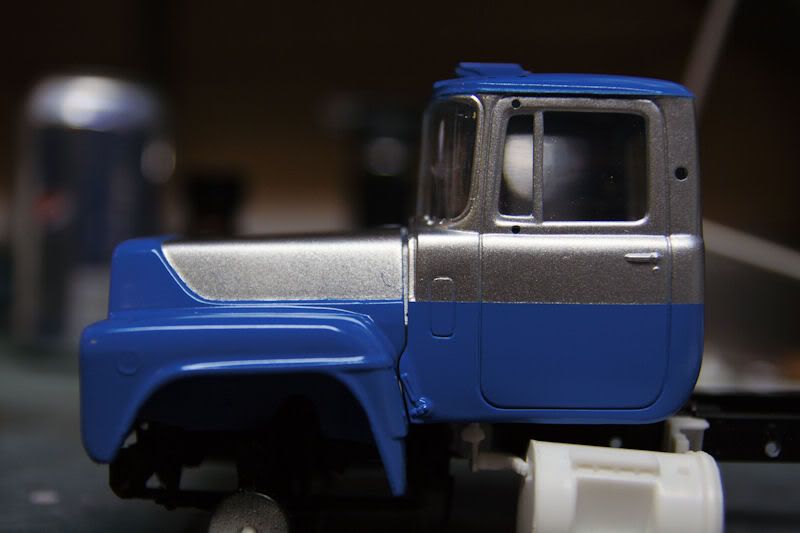 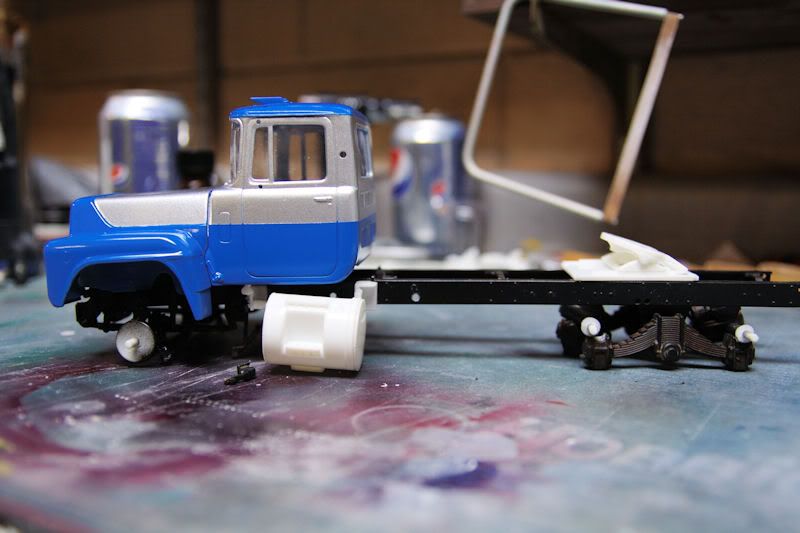 Here is the rear suspension. I did do some light weathering to the frame and suspension. 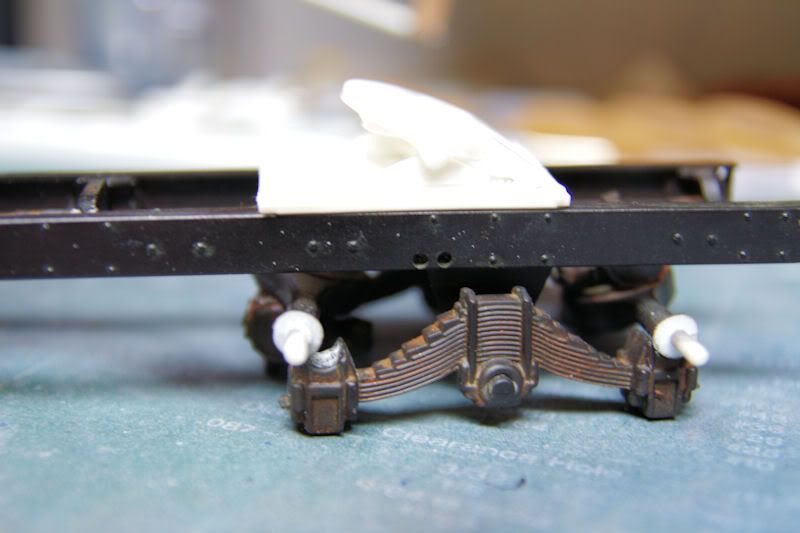 Tonight I hope to have the other fuel tank mount repaired and repaint the repaired areas. Also during the mock up I found that the left air tank interfears with the fuel tank so I'll have to figre out what I did wrong here as well. I also ant to get som paint on the battery boxes and fuel tanks. |
|
Deleted
Deleted Member
Posts: 0
|
Post by Deleted on Oct 6, 2010 9:30:27 GMT -5
Looks really nice. What did you use the weather the springs?
|
|
78KW
Regional OTR Driver
Hard Time don't last...Trucker's do!
Posts: 2,467
|
Post by 78KW on Oct 6, 2010 14:21:30 GMT -5
That looks pretty cool Mark.
|
|
|
|
Post by dieseldoc on Oct 8, 2010 8:24:02 GMT -5
Looks really nice. What did you use the weather the springs? I gloss coat the every thing I need or want to weather. Then I give it a super thin wash of artist oil paint. Allow this to dry for a day. Then give it a coat of testors dulcote. If I feel it needs more weathering I go through the process again. |
|
Deleted
Deleted Member
Posts: 0
|
Post by Deleted on Oct 8, 2010 10:56:54 GMT -5
Thanks for the tip. What did you use for the rust? Burnt Umber?
|
|
|
|
Post by gatormarcstaug on Oct 8, 2010 17:43:00 GMT -5
Doc, That is looking good! I know how those instructions on those kits can be very confusing!
Semper Fi
Gator
|
|
tiny
CDL Student Driver
"All Things Are Possible"
Posts: 591
|
Post by tiny on Oct 9, 2010 14:09:34 GMT -5
Looking Good!!
|
|
|
|
Post by crackerboxkid on Nov 19, 2010 8:38:50 GMT -5
Man that's a tasteful job of weathering! Nice job!
|
|
bandit1
CDL Student Driver
Posts: 732
|
Post by bandit1 on Nov 25, 2010 16:35:05 GMT -5
suggestion maybe put either a lighter blue or even a red penstripe along the blue and silver paint break will make it look nicer!
|
|