rnagle
CDL Student Driver

Posts: 564
|
Post by rnagle on Apr 22, 2012 12:39:55 GMT -5
Thanks guys! Arnd, sorry I didn't reply sooner, height of the air dryer is .400" for the upper round part, .625" overall. Round part is 1/4" (.250") styrene tube.
|
|
rnagle
CDL Student Driver
Posts: 564
|
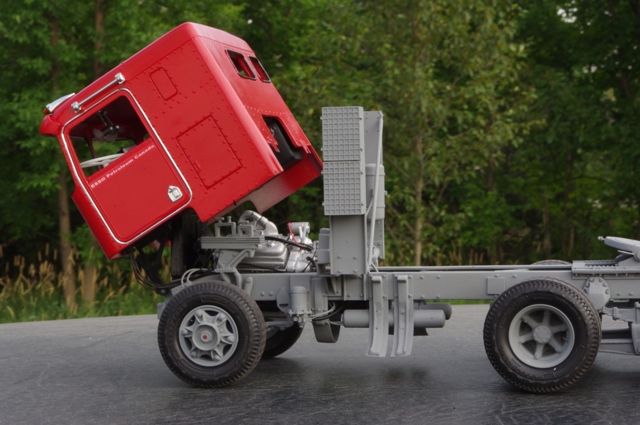
Post by rnagle on May 13, 2012 18:22:52 GMT -5
|
|
Deleted
Deleted Member
Posts: 0
|
Post by Deleted on May 13, 2012 18:59:46 GMT -5
Looks really good!
|
|
rnagle
CDL Student Driver
Posts: 564
|
Post by rnagle on May 21, 2012 20:07:03 GMT -5
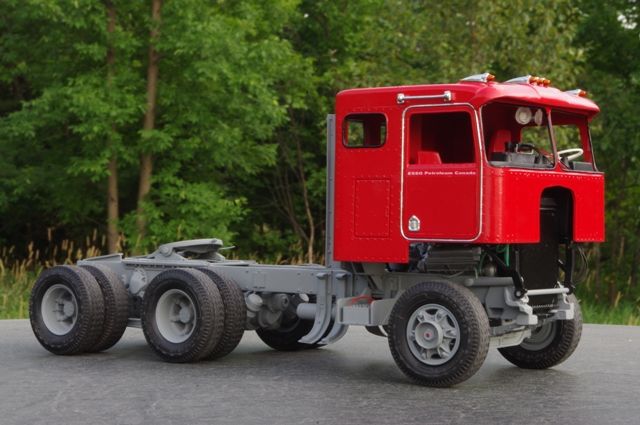
Thanks, got some more colour on it this weekend, red on cab parts. Still lots to be done still but beginning to look more like a truck! 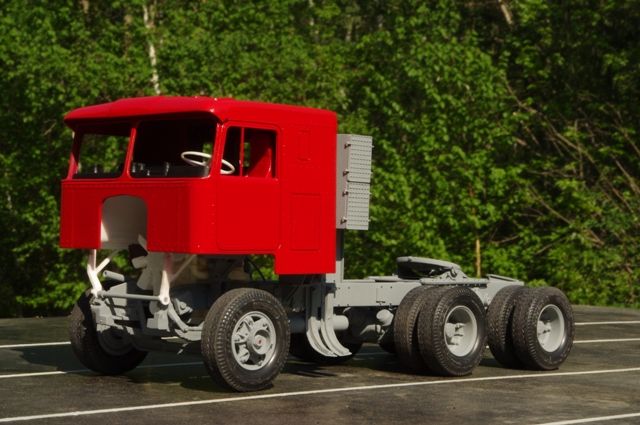 |
|
rnagle
CDL Student Driver
Posts: 564
|
Post by rnagle on Jul 22, 2012 18:59:19 GMT -5
|
|
animal
Local Delivery Truck Driver
animal wants trucks
Posts: 132
|
Post by animal on Jul 24, 2012 12:36:31 GMT -5
I am totally amazed with your build. Your attention to detail goes way beyond my abilities. I truly enjoy viewing you projects. Bravo!!!   |
|
truckmaniac
Local Delivery Truck Driver
An other town,an other place,an other truck,an other race !
Posts: 378
|
Post by truckmaniac on Jul 25, 2012 8:36:52 GMT -5
Amazing in every view.(close my mouth now...wow)
|
|
tbear
Local Delivery Truck Driver
Posts: 27
|
Post by tbear on Jul 28, 2012 6:25:45 GMT -5
Wow this is a super build, gives me some ideas for my Kenworth K123 build
|
|
rnagle
CDL Student Driver
Posts: 564
|
Post by rnagle on Jul 28, 2012 20:00:21 GMT -5
Thanks guys, I am a slow builder (fit in model time when possible) however progress is mo ving along, currently working on intake plumbing. Kit parts weren't going to work for this application so 1/4" styrene tube used, a number of small segments cut & cemented form the basic elbow, once sanded smooth .010 x .040 and .010 x .030 strips cemented on for the ribs. 7/32" styrene tube used for the aluminum piping:  |
|
rnagle
CDL Student Driver
Posts: 564
|
Post by rnagle on Jul 29, 2012 16:37:20 GMT -5
Intake plumbing is slowly moving from turbo out to the filters, adhesive backed chrome vinyl works well for hose clamps, I cut it into strips about .030" wide. Fuel tanks also ready for final painting (aluminum), .010 styrene wrapper is an easy way of getting smooth finish. .032 brass wire provides place to attach fuel lines once tank is installed: 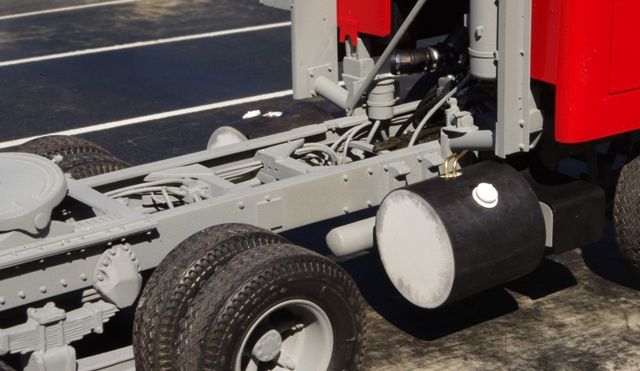 |
|
tiny
CDL Student Driver
"All Things Are Possible"
Posts: 591
|
Post by tiny on Aug 3, 2012 13:46:39 GMT -5
WOW!! Excellent work & thanks for the tips.
|
|
rnagle
CDL Student Driver
Posts: 564
|
Post by rnagle on Aug 27, 2012 17:39:07 GMT -5
Bumper made from .030 styrene sheet & strip, Micro-Mark bolt heads. K&S expanded copper mesh in fog light openings with .010 styrene trim rings. Fold down steps are resin parts from Plaskit. Fuel tanks also in place, still need steps: 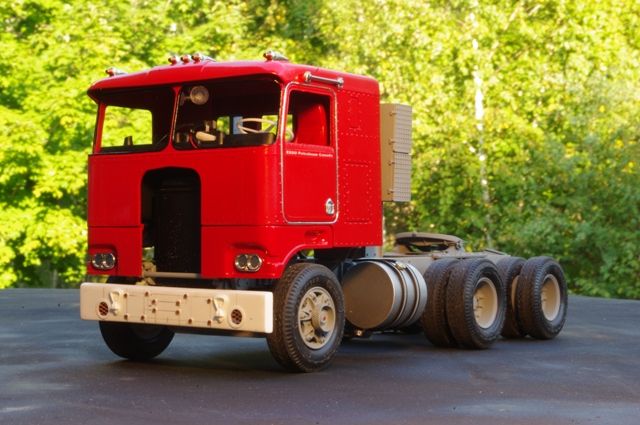 |
|
|
|
Post by signature600 on Aug 29, 2012 16:29:21 GMT -5
Mr Nagle, that is coming along just great, the detail is fantastic,and really changes the standard kit
Just one question, how did you do the interior fans?, do you have a pic on how you have done them?
thanks
|
|
rnagle
CDL Student Driver
Posts: 564
|
Post by rnagle on Aug 29, 2012 21:52:38 GMT -5
Thanks, while I doen't have a close up photo of the interior fans right now they were made from .010 clear styrene disks laminated using solvent cemengt. I have Micro-Mark's miniature punch set, that and two different size paper punches used to make disks of varying diameter. Styrene rod used for fan body and mounting post, these were brush painted silver while disks left clear. While not as accurate as an actual wire frame, viewed through windshield the clear disks look reasonably convincing.
|
|
rnagle
CDL Student Driver
Posts: 564
|
Post by rnagle on Sept 3, 2012 16:27:34 GMT -5
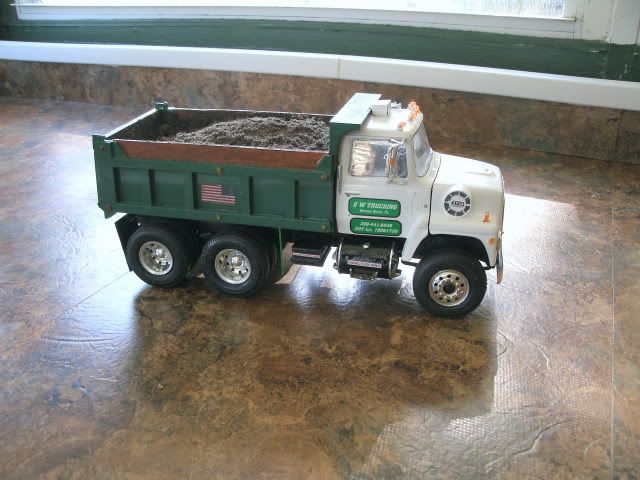
Bumper painted & fuel tank steps added, also cab finally assembled. Lots of finishing details yet including exhaust stack however the "end" is almost in sight! 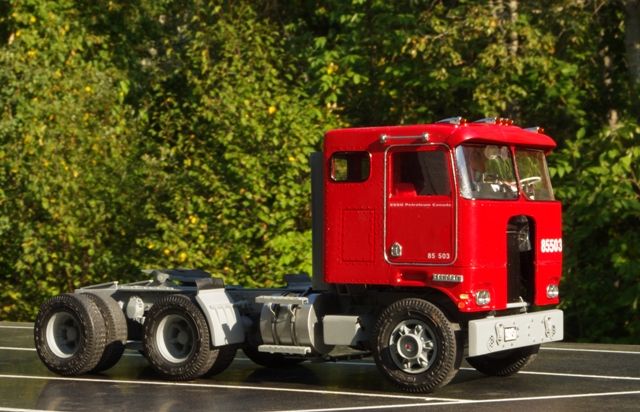 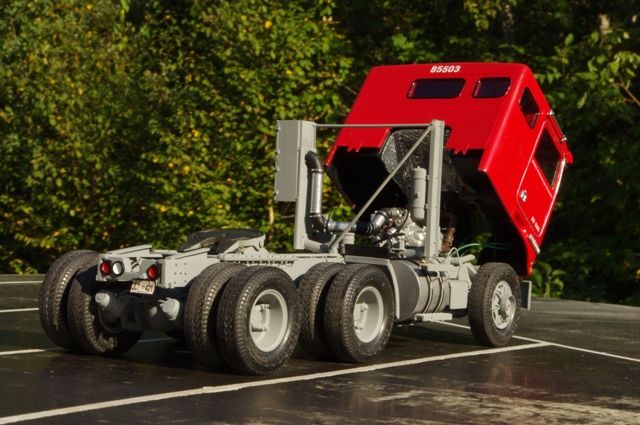 |
|