ewaskew
Local Delivery Truck Driver

Posts: 206
|
Post by ewaskew on Feb 18, 2013 17:15:18 GMT -5
Man thats a lot of nice detail work you got there.
Very nice
|
|
rnagle
CDL Student Driver
Posts: 564
|
Post by rnagle on Feb 18, 2013 19:38:31 GMT -5
Thanks Earl! Exhaust pipe installed finish is Testors Silver brushed on, after it dried Badger Modelflex Roof Brown used to give weathered appearance. Modelflex is pre-thinned for airbrushing so works well as a wash for applications like this. Clamp is silver decal paper cut to .080 wide. 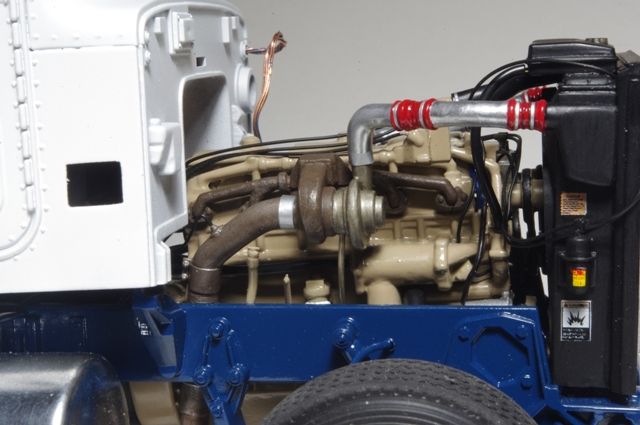 Less tedious work on the seats: Passenger seat on this truck was on a seatbox, kit parts used for seat mounts on styrene box. Pieces from kit air ride seat base used to raise driver seat slightly as it looked a bit low when mocked up in cab. 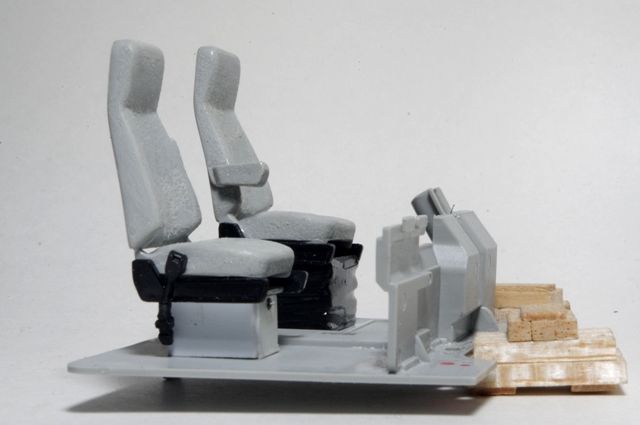 |
|
rnagle
CDL Student Driver
Posts: 564
|
Post by rnagle on Feb 20, 2013 20:55:16 GMT -5
An admission: some "sleight of hand" has been employed, space between firewall and cab interior on the Italeri Petes is handy for leaving hoses & wiring bundles extra long & tucking them up inside. Holes added in cab floor as required, 2 wiring bundles that stop in mid air will go to firewall once cab installed permanently. 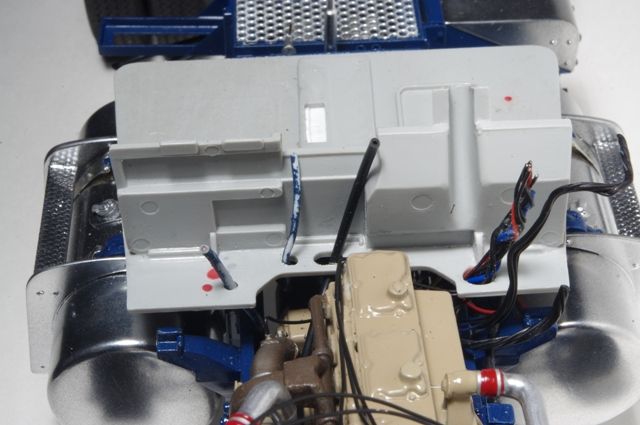 Clutch pedal added as kit does not come with one, representation of linkage bent from .032 brass wire. Styrene strip & wire represent brake valve & lines down to frame. 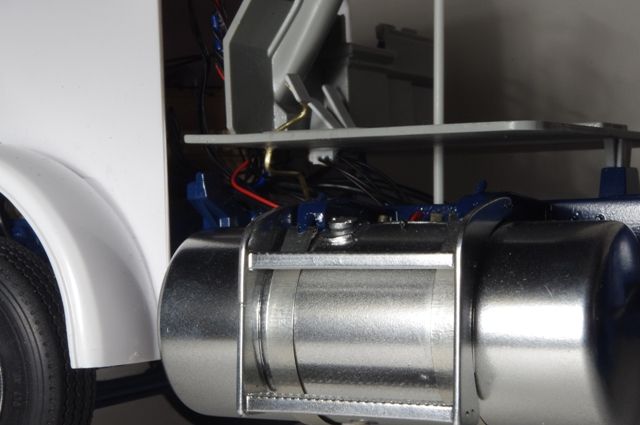 Pedal pads made from Evergreen N scale car siding, .020 thick. Scribed surface does a good job of representing grooved pedal pads. 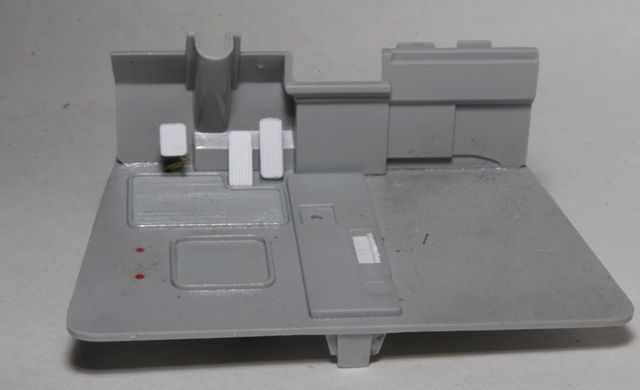 |
|
|
|
Post by truckabilly on Feb 21, 2013 3:16:35 GMT -5
I like this a lot. I always wondered what the clutch pedal linkage looks like but I couldn´t find a good reference pic of this part. Now I can see the under floor shaping of the pedal, at least. Great work as ever. Keep it coming till the forum really shuts down.
Jarda
|
|
rnagle
CDL Student Driver
Posts: 564
|
Post by rnagle on Feb 21, 2013 5:49:20 GMT -5
Thanks Jarda, the part below floor is only a "guess" as I couldn't get a good view to photograph it, section inside cab is fairly close, worked from this photo of a 378 cab interior.  |
|
|
|
Post by truckabilly on Feb 21, 2013 8:12:48 GMT -5
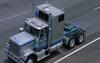
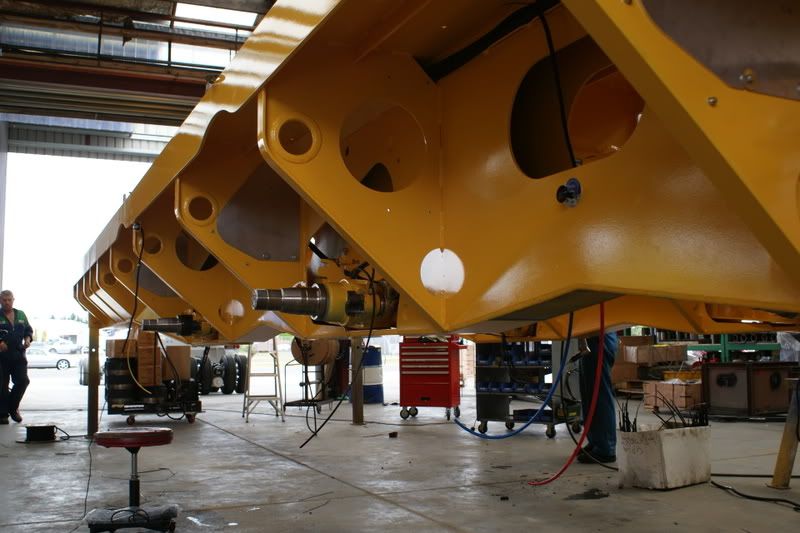
I found this picture a time ago. I do not even know if it is Peterbilt. Might be, for I spy a sort of oval logo on top of the mud flap at the lower right-hand corner of the picture. The picture is not very clear but it is the only one I have.  Jarda |
|
rnagle
CDL Student Driver
Posts: 564
|
Post by rnagle on Feb 21, 2013 17:21:01 GMT -5
Excellent photo, it is very helpful. I do think that is the Peterbilt oval symbol on mudflap.
|
|
rnagle
CDL Student Driver
Posts: 564
|
Post by rnagle on Feb 21, 2013 22:24:44 GMT -5
This little item turned out to be easier than expected: Washer bottle molded to cab has correct shape but is quite shallow, also difficult to paint. Evergreen .250 x .250 styrene strip cut & filed to shape, left in white plastic with thinned Tamiya clear blue brushed on. It is attached to a short piece of 1/16" brass rod which served as a holding fixture, molded on washer bottle ground off firewall and hole filled with styrene sheet on back side. Bottle set in place for photo, will come off while finish work on cab continues. 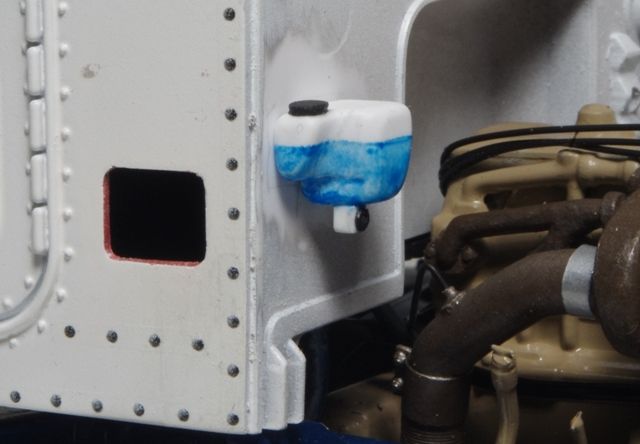 |
|
rnagle
CDL Student Driver
Posts: 564
|
Post by rnagle on Feb 22, 2013 22:42:43 GMT -5
Thin overcoat of flat white was suggested by a couple modellers, makes a big improvement in washer bottle's appearance.  |
|
|
|
Post by truckabilly on Feb 23, 2013 2:13:32 GMT -5
This is exactly what was needed. Now it looks a lot better. I am doing the same thing with the washer bottle on my builds. I was thinking about using a semi-transtaparent foil painted blue on the inside but I have no idea how to make such a complicated shape out of it. This is probably the best way how to improve the looks of the washer bottle.
Jarda
|
|
rnagle
CDL Student Driver
Posts: 564
|
Post by rnagle on Mar 3, 2013 0:02:22 GMT -5
Hope to have gold paint on at least the cab soon! Windjammer made from spare kit part (guessing Road Boss but not 100% sure) sanded smooth & rounded off with styrene box on back side. Cab roof brackets soldered from brass tube (one side milled off tube to make channel) and 1/64" strip. Rivet heads are Tichy Train Group .025 rivets, nut/bolt/washer castings are Grandt Line. Stack brackets also made from styrene strip & n/b/w castings, window gasket painted black and will be masked for gold finish paint on cab. 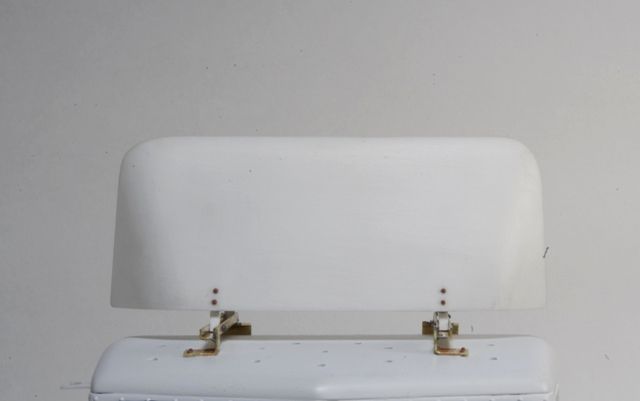  |
|
reddog414
Local Delivery Truck Driver
Posts: 131
|
Post by reddog414 on Mar 3, 2013 6:59:34 GMT -5
you need to take the passenger seat out and put a perch in for El-birdo.LOL Looks great nic e work
|
|
Deleted
Deleted Member
Posts: 0
|
Post by Deleted on Mar 3, 2013 17:41:37 GMT -5
Nice looking brackets. I need to make something like that for my K100.
|
|
|
|
Post by signature600 on Mar 4, 2013 16:06:53 GMT -5
Love the detail, and really love your brass work, cause brass can get so addictive, and is as bad as getting gold fever  |
|
rnagle
CDL Student Driver
Posts: 564
|
Post by rnagle on Mar 4, 2013 18:14:29 GMT -5
Brass is good! A better choice than styrene for some applications, either for strength, scale thickness or a combination of both. Gold paint on cab, hood won't get painted until after cab in place permanently and hood fitted to it. 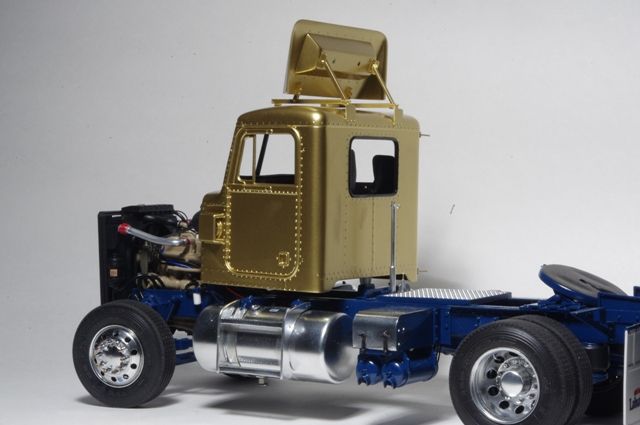 |
|